This is my
 |
| 6-ply (cushy goodness) cloth diapers and awesome Michael Miller fabric |
Cloth pre-folded diapers (I use Gerber 6-ply)
Fabric
3/8" grosgrain ribbon
Pins
Sewing Machine/Thread
Scissors
Iron/Ironing Board
Fabric Marker & 5" x 20" template (if you choose the quick, skip as many steps as you can method like I do)

Wash and dry your cloth diapers and your fabric and iron them. Ironing cloth diapers is NOT as fun as it sounds. :-) Next, take your template and mark your fabric to be cut.
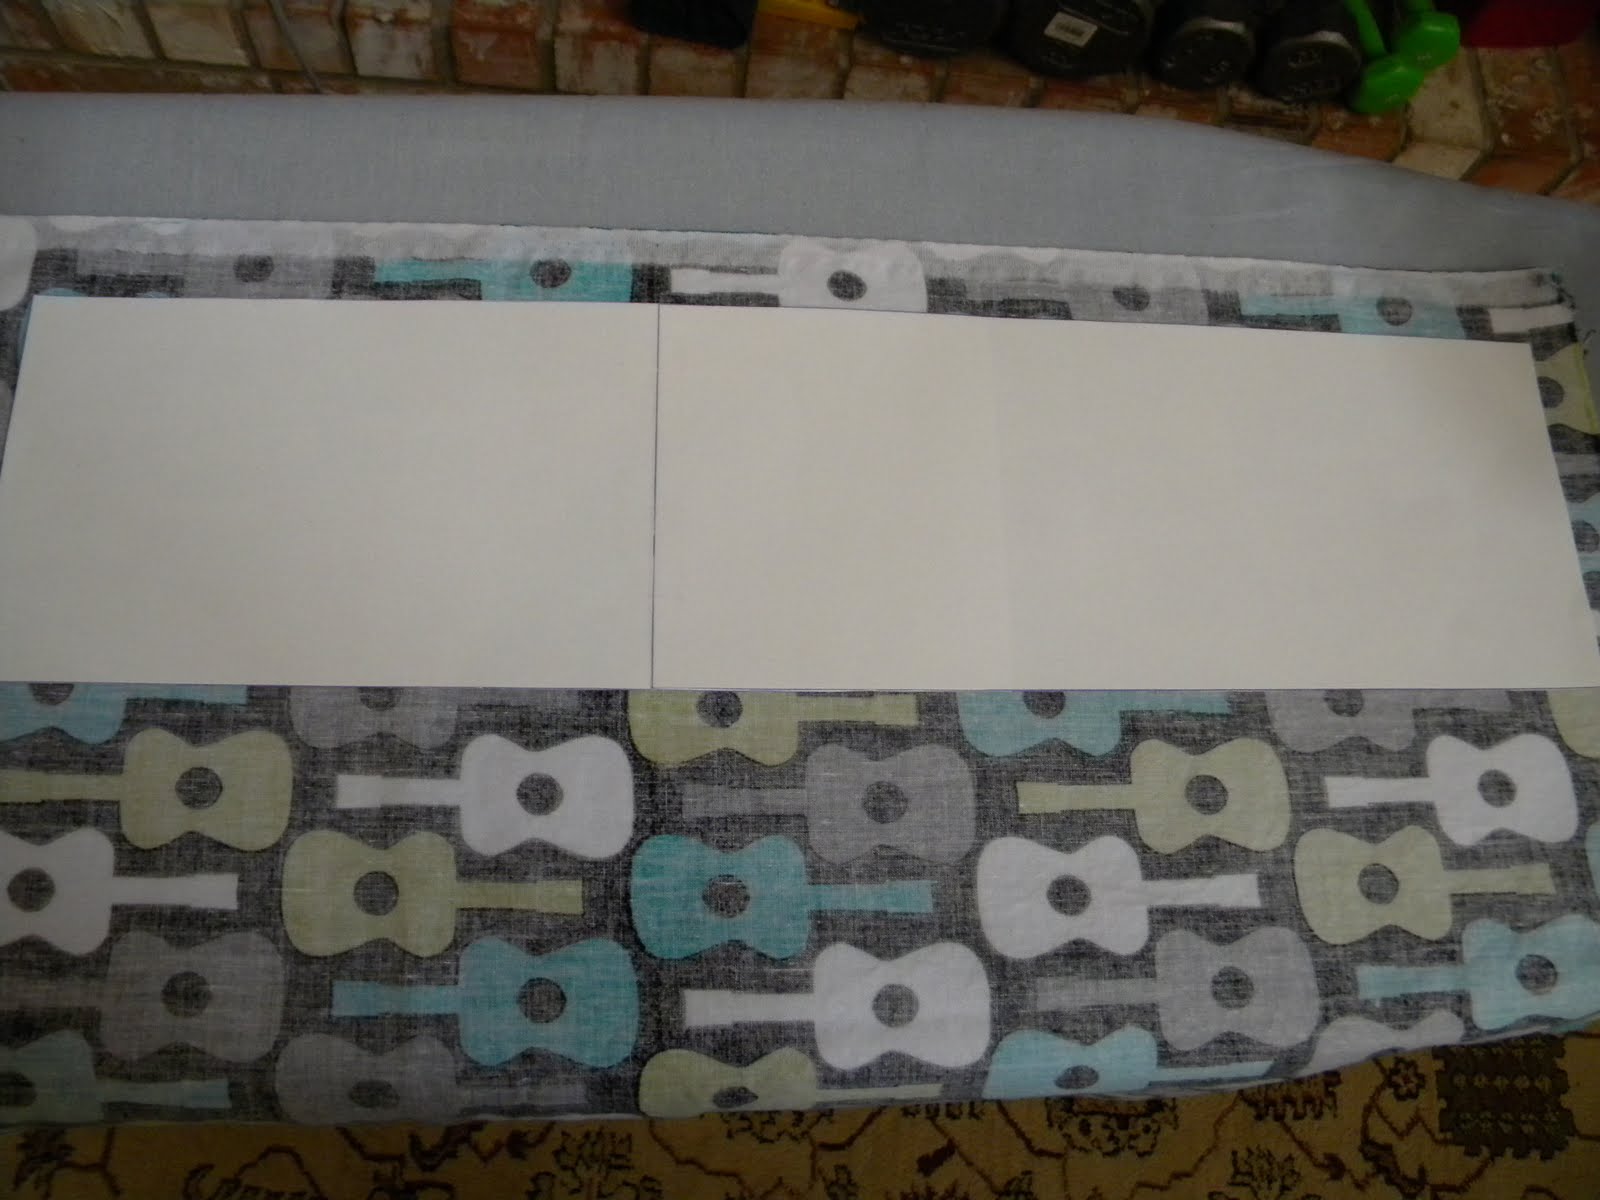 |
| 5" x 20" template |
After your fabric is cut, take the ribbon you've chosen to compliment your fabric, and cut 2 pieces at least as long as your fabric (about 20" long).
 |
| The fabric is Michael Miller Groovy Guitar in Lagoon |
Next lay your fabric on top of the cloth diaper, and center it as best you can. I run a finger down each side of the center and see how far off I am (hope that makes sense). I don't worry too much about it being exactly centered. I promise the baby you're making it for won't care. :-)
Now lay your ribbon along the edge of the fabric. You want the outside edge of the ribbon to line up with the outside edge of the fabric. Fold the top of the fabric and ribbon under until it lines up with the top of the diaper.
 |
| The ribbon is folded under along with the fabric at the top. |
Which ever way you have your diaper/fabric/ribbon, when you start sewing, be sure to sew the inside edge of the ribbon first. That way, you pretty much eliminate any chance of not having the ribbon stitched to your fabric. Don't forget to back stitch! :-)
 |
| The inside edge of the ribbon on each side is stitched. |
 |
| That pin is just a prop. : -) Stitching the inside edge first. I just hold the ribbon and fabric together with one hand, and guide it through on the machine with the other. |

 |
| A better view of the inside edge done on one side. |
Now your fabric and ribbon are securely sewed to the diaper turned burp cloth. Stitch along the outside edges of the ribbon. If you took the easy route along with me, check for any frayed edges on your fabric, and clip them before sewing the outside edges.
 |
| Pesky little stragglers. Snip, snip. |
One more step. Do a zig-zag stitch (or any stitch you prefer) on each end to secure the fabric to each end of the burp cloth.
 |
| ZIG-ZAG |
You're done! Yee-haw! Time to step back (do a happy dance if you want) and admire your work.
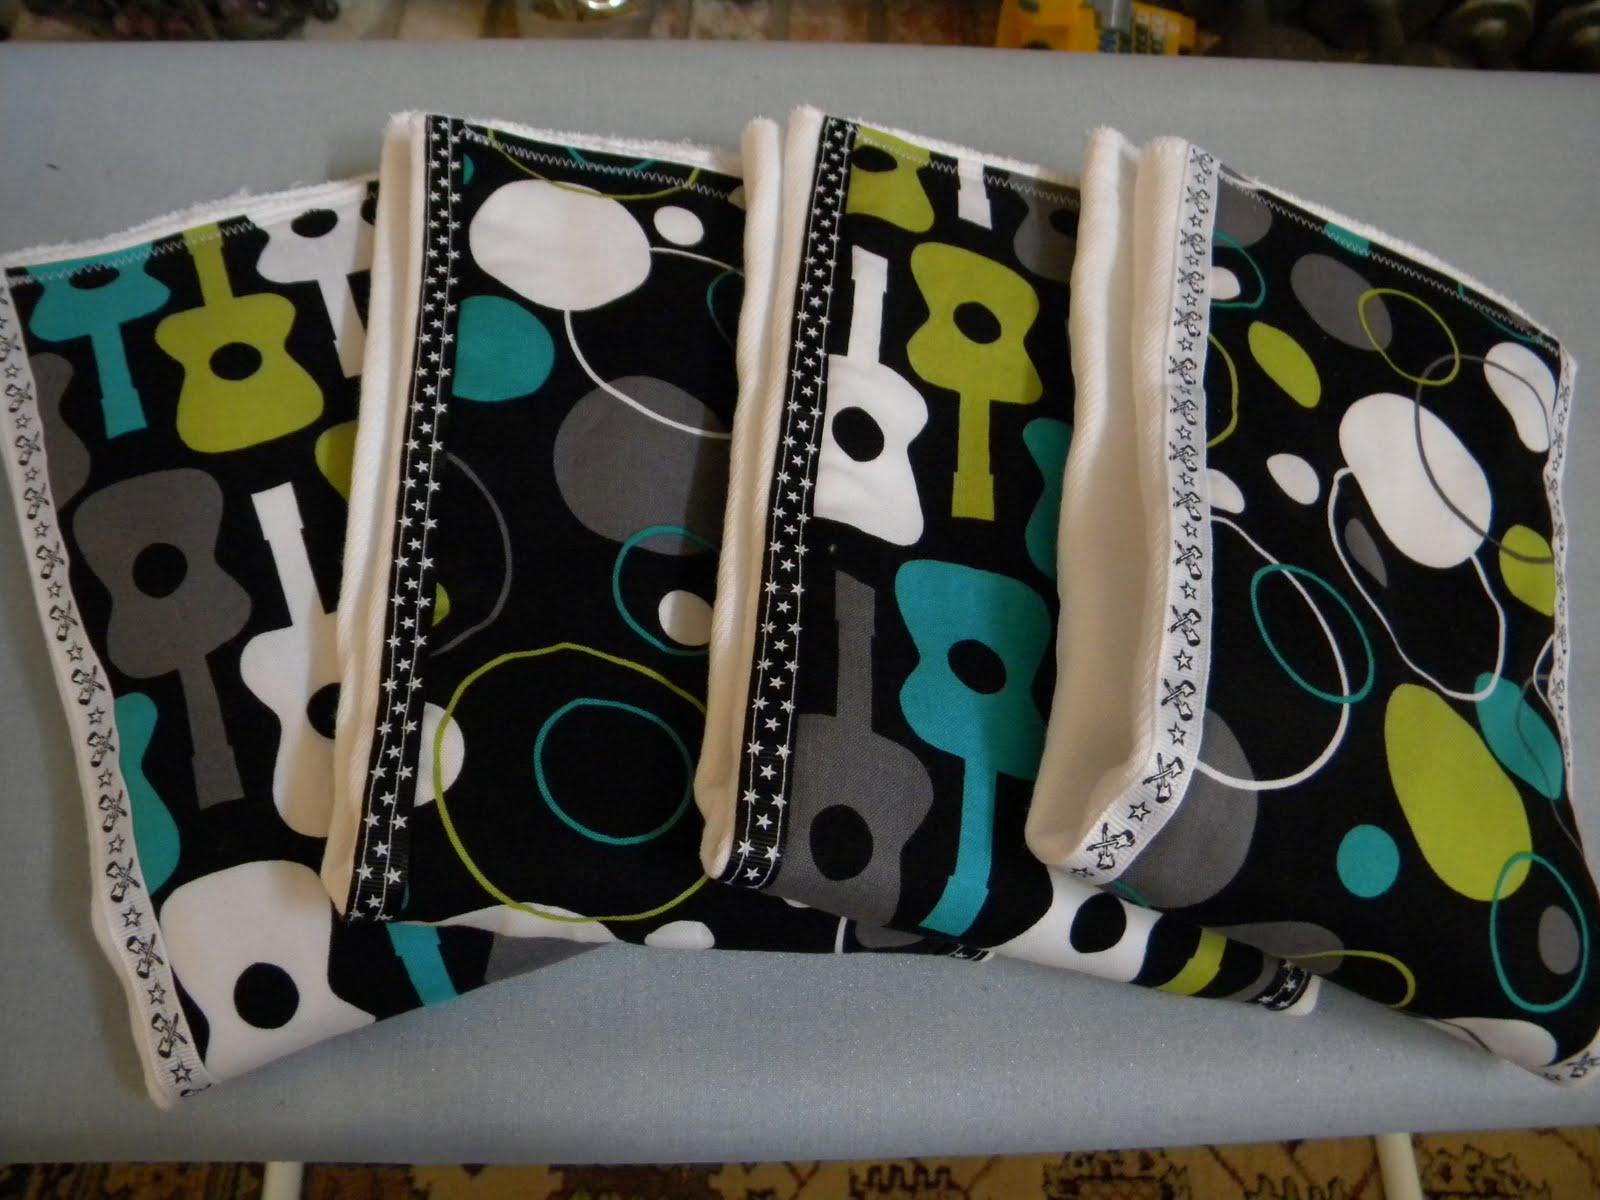 |
| These 4 are for a friend that is having a boy at the end of this month. The other fabric is Michael Miller Hoopla Dot Lagoon. |
 |
| 2 more I made today. The fabric on the left is Michael Miller Lazy Daisy Gray Fabric. The pink polka dots is fabric I got at Hobby Lobby last weekend. Not sure who is responsible for its making. ; -) |
 |
| : -) |
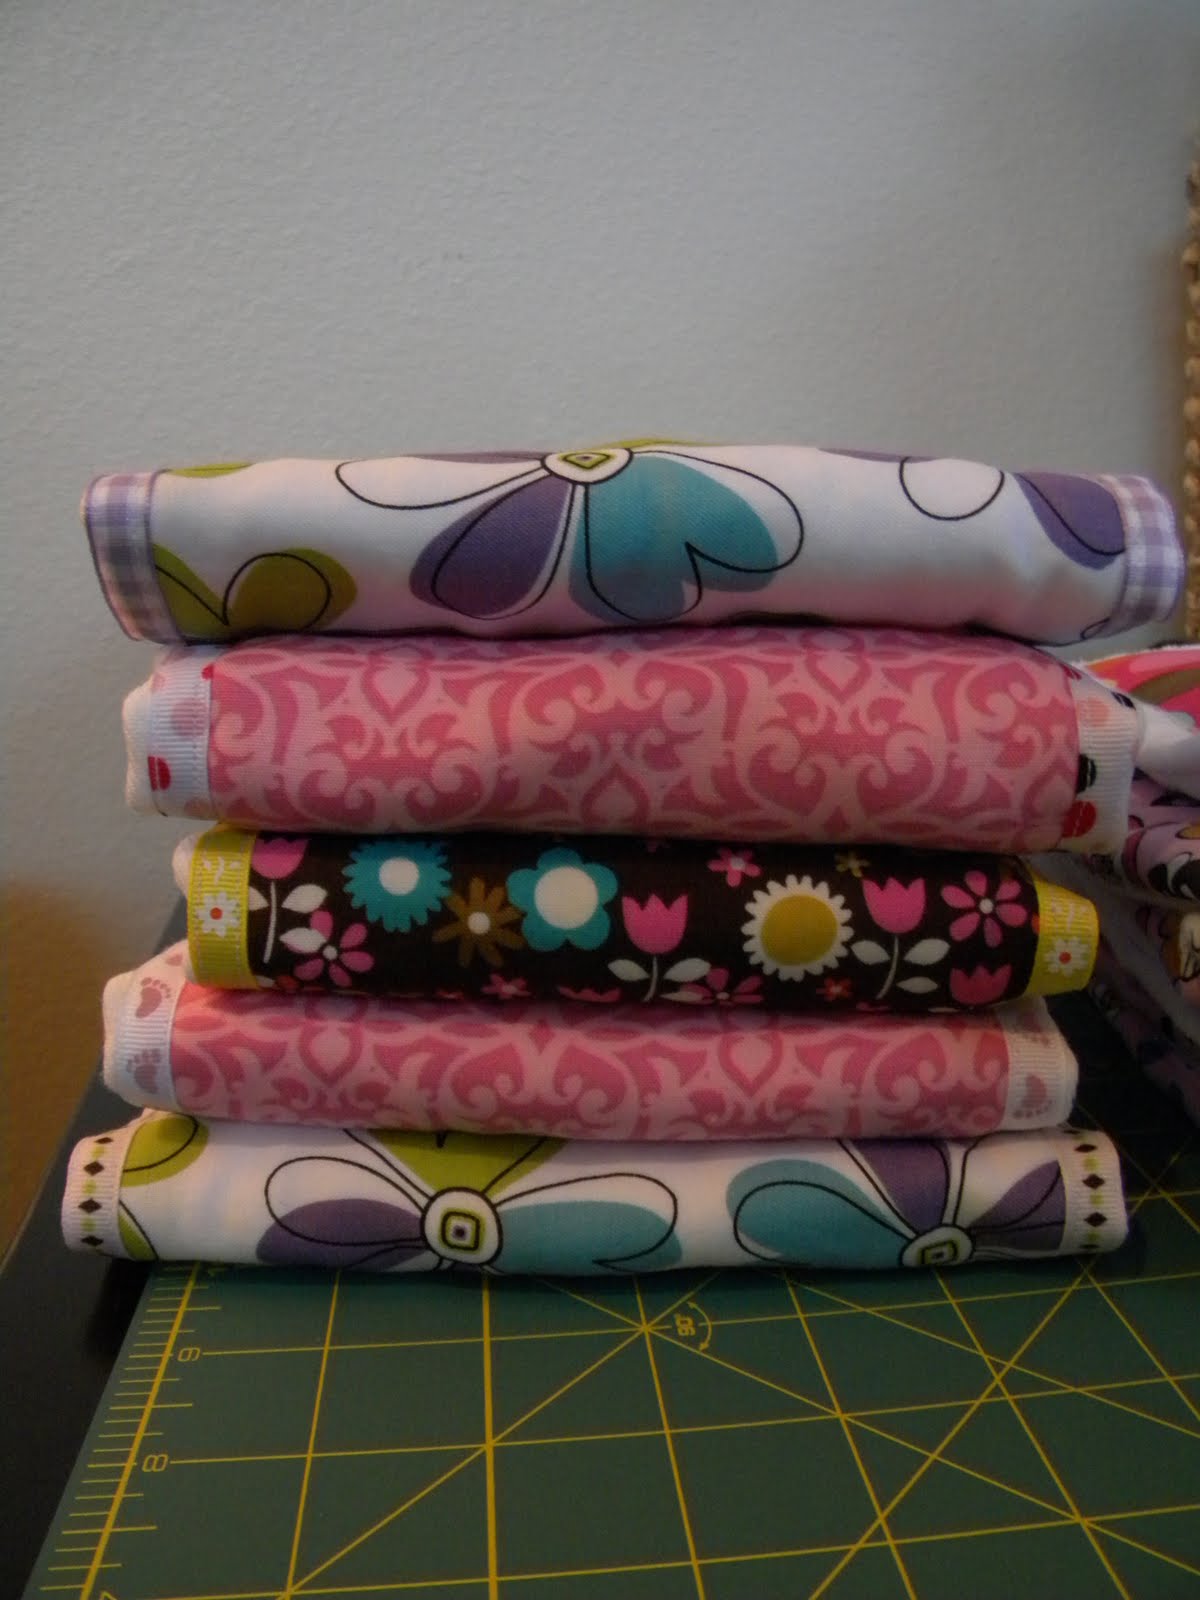 |
| Here are a few that I made last summer. |
~ Thanks for stopping by! ~
Jaime
