Showing posts with label baby. Show all posts

Monday, June 6, 2011

Ribbon & Beads Buddy Blanket

Okay, the idea for this blanket came about around 2am this morning. Baby Girl woke up sick around 11 last night, and we were hanging out in the living room. As she started to doze off, I was trying to think of something else I could add to the birthday bag for my niece. She turns 1 tomorrow, and her birthday bash is this coming Saturday. I've seen the tag-style blankets before, but wanted to add something more.

I got out all of my ribbon and started cutting different lengths with my pinking shears (my new best friend). As I went through my bin of ribbon, I came across some decorative trim (looks little skinny rope). I went ahead and cut those as well.

After a few hours of sleep, I decided to start putting the blanket together. While looking for something on my craft table, I spotted a bag of pony beads. Yes! I could thread those on the trim, to add something else for my niece to play with. So, that is how I came up with the Ribbon & Beads Buddy Blanket.


What You'll Need:

2 pieces of fleece - I had a leftover piece of turquoise minky, so I based the size of the blanket off of that, measuring 22-1/2" x 21"

Lots of Ribbon - Thick, thin, stretchy, sheer, etc.
Decorative Trim - I used turquoise and pink
Scissors/Pinking Shears - The ribbon won't fray at all if you use the shears to cut it
Sewing Machine/Thread/Pins
Pony Beads


All the goodies. : -)


First, cut out your 2 pieces of fleece to your desired size. Next, put right sides together, and lay down on a flat surface (for me, it was a sheet spread out on the living room floor). Place all of your cut ribbon around the edges, to see how you want them placed and spaced.


Starting to place the ribbon around the edges...already threaded one piece of decorative trim with the pony beads.


Everything placed, and ready to start pinning. After I finished this part, I realized that I didn't leave space for turning after sewing around the edges, so I removed the piece of pink sheer ribbon in the front, and moved a few pieces over, so I would have at least 2 inches for turning the blanket right side out.


Next step is to start pinning the ribbon in place. Take each piece of ribbon, and place the folded side (the side you want sticking out from the edges of the blanket when you turn it right side out) in between the 2 pieces of fleece. 


You can see here, the cut edges of the ribbon are sticking out, while the folded side is between the fabric, and pinned in place.


Continue pinning all around the blanket, making sure to leave at least a 2 inch gap for turning.


All pinned, with a space for turning.


 At this point, I trimmed the protruding edges of the ribbon, so there wouldn't be long lengths of it inside the blanket once it was turned.


After trimming the ribbon.


Next, stitch all the way around the edge of the blanket, making sure to leave the gap for turning, and to back-stitch at the beginning and end.

Turn the blanket right side out (stop to admire your awesome handi-work), and make sure the corners are completely turned out.


Blanket turned right side out. I LOVE the beads!!


Now, top-stitch around the edge of the blanket, turning the edges under at the gap. I also added another piece of ribbon in that spot so the large gap wasn't as obvious.


Yahooo!! You're done! : -)


I am so thrilled with how this blanket turned out.


Finished dimensions are 19-1/2" x 21".


Maybe I should start setting my alarm for 2am? Who knows what I'll come up with. : -)


~ Thanks for stopping by! ~

Jaime


Come join in the fun at these fabulous parties!


Weekend Bloggy Reading

Sunday, April 10, 2011

Burp Cloths - Having Fun With Spit Up

I wish I had thought to make some of these when my babies were little babies. Spit up is spit up....but at least with a "prettied up" burp cloth, you can have some fun with it, right (okay, your shoulder will look GREAT)?

This is my lazy woman's busy Mama's version of the burp cloth. I'll also add what I do when I have more time (ummmm...never?).


6-ply (cushy goodness) cloth diapers and awesome Michael Miller fabric


What You'll Need:

Cloth pre-folded diapers (I use Gerber 6-ply)
Fabric
3/8" grosgrain ribbon
Pins
Sewing Machine/Thread
Scissors
Iron/Ironing Board
Fabric Marker & 5" x 20" template (if you choose the quick, skip as many steps as you can method like I do)


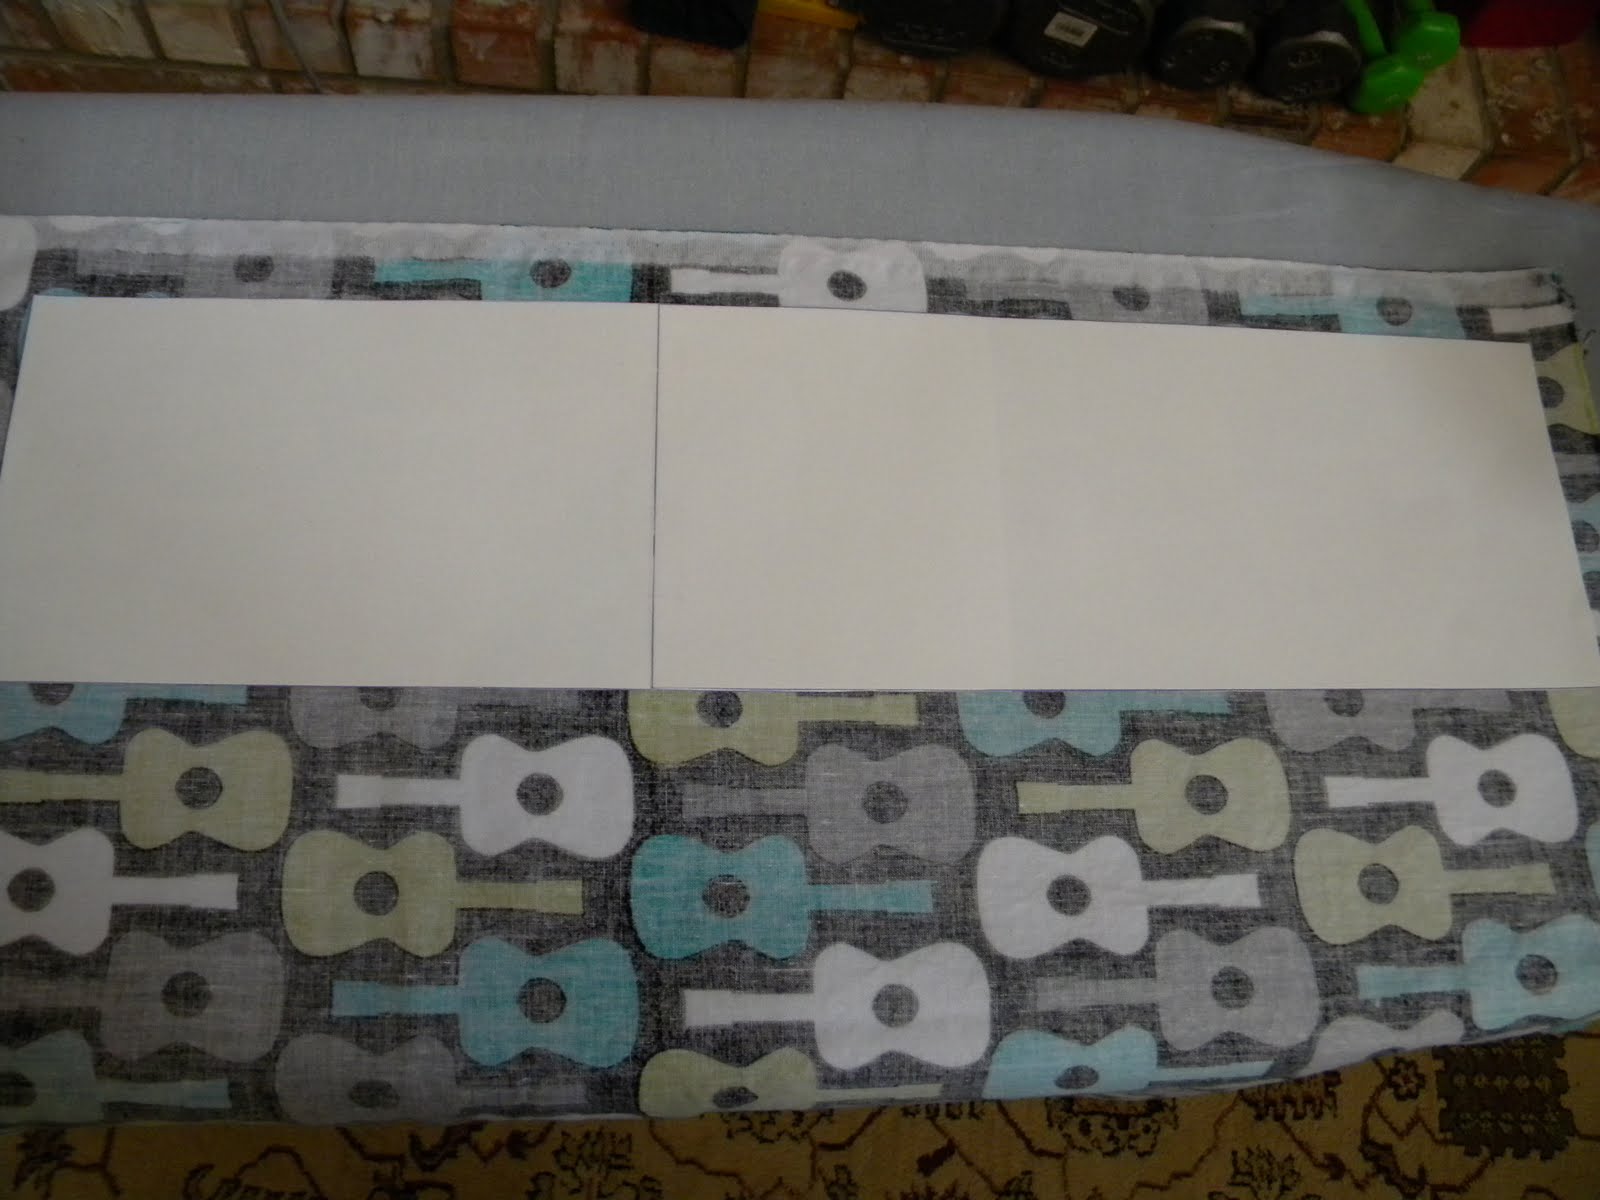
Wash and dry your cloth diapers and your fabric and iron them. Ironing cloth diapers is NOT as fun as it sounds. :-)    Next, take your template and mark your fabric to be cut.


5" x 20" template


Okay, the other way I (used to) do this is to cut the fabric about 7" wide instead of 5", and then iron the long sides over about an inch...so the piece you put on the cloth diaper is still approximately 5" wide. The way I'm doing it skips the step of ironing the long sides. I tend to get frustrated if when it doesn't come out perfectly straight.

After your fabric is cut, take the ribbon you've chosen to compliment your fabric, and cut 2 pieces at least as long as your fabric (about 20" long).


The fabric is Michael Miller Groovy Guitar in Lagoon

Next lay your fabric on top of the cloth diaper, and center it as best you can. I run a finger down each side of the center and see how far off I am (hope that makes sense). I don't worry too much about it being exactly centered. I promise the baby you're making it for won't care. :-) 

Now lay your ribbon along the edge of the fabric. You want the outside edge of the ribbon to line up with the outside edge of the fabric. Fold the top of the fabric and ribbon under until it lines up with the top of the diaper.

The ribbon is folded under along with the fabric at the top.


The photo above is NOT how I have my fabric before I start to sew everything in place. It was a good visual for the top of the fabric and ribbon being folded under, and for those of you that will prefer to pin everything in place first. I have found, after lots of trial and error, that it is easier for me to not pin it. I've had issues with having to readjust fabric and ribbon halfway through, fabric bunching up, and having the ribbon slide off so that it wasn't being stitched to the fabric.

Which ever way you have your diaper/fabric/ribbon, when you start sewing, be sure to sew the inside edge of the ribbon first. That way, you pretty much eliminate any chance of not having the ribbon stitched to your fabric. Don't forget to back stitch! :-)

The inside edge of the ribbon on each side is stitched.


That pin is just a prop. : -)   Stitching the inside edge first. I just hold the ribbon and fabric together with one hand, and guide it through on the machine with the other.


A better view of the inside edge done on one side.


Before you get to the end of the diaper, make sure you fold the bottom edge of your fabric/ribbon under so it lines up with the bottom edge of the diaper, and then continue sewing to the end. Next, do the same thing on the other long edge with your other length of ribbon.

Now your fabric and ribbon are securely sewed to the diaper turned burp cloth. Stitch along the outside edges of the ribbon. If you took the easy route along with me, check for any frayed edges on your fabric, and clip them before sewing the outside edges.


Pesky little stragglers. Snip, snip.


One more step. Do a zig-zag stitch (or any stitch you prefer) on each end to secure the fabric to each end of the burp cloth.


ZIG-ZAG


If you have a serger (which I do not), these babies (yes, pun intended) could practically make themselves. You could skip all the folding under nonsense. Just stitch the ribbon to the edges of the fabric, and then trim the ends to line up with the ends of the burp cloth/diaper, and serge the ends.


You're done! Yee-haw! Time to step back (do a happy dance if you want) and admire your work.


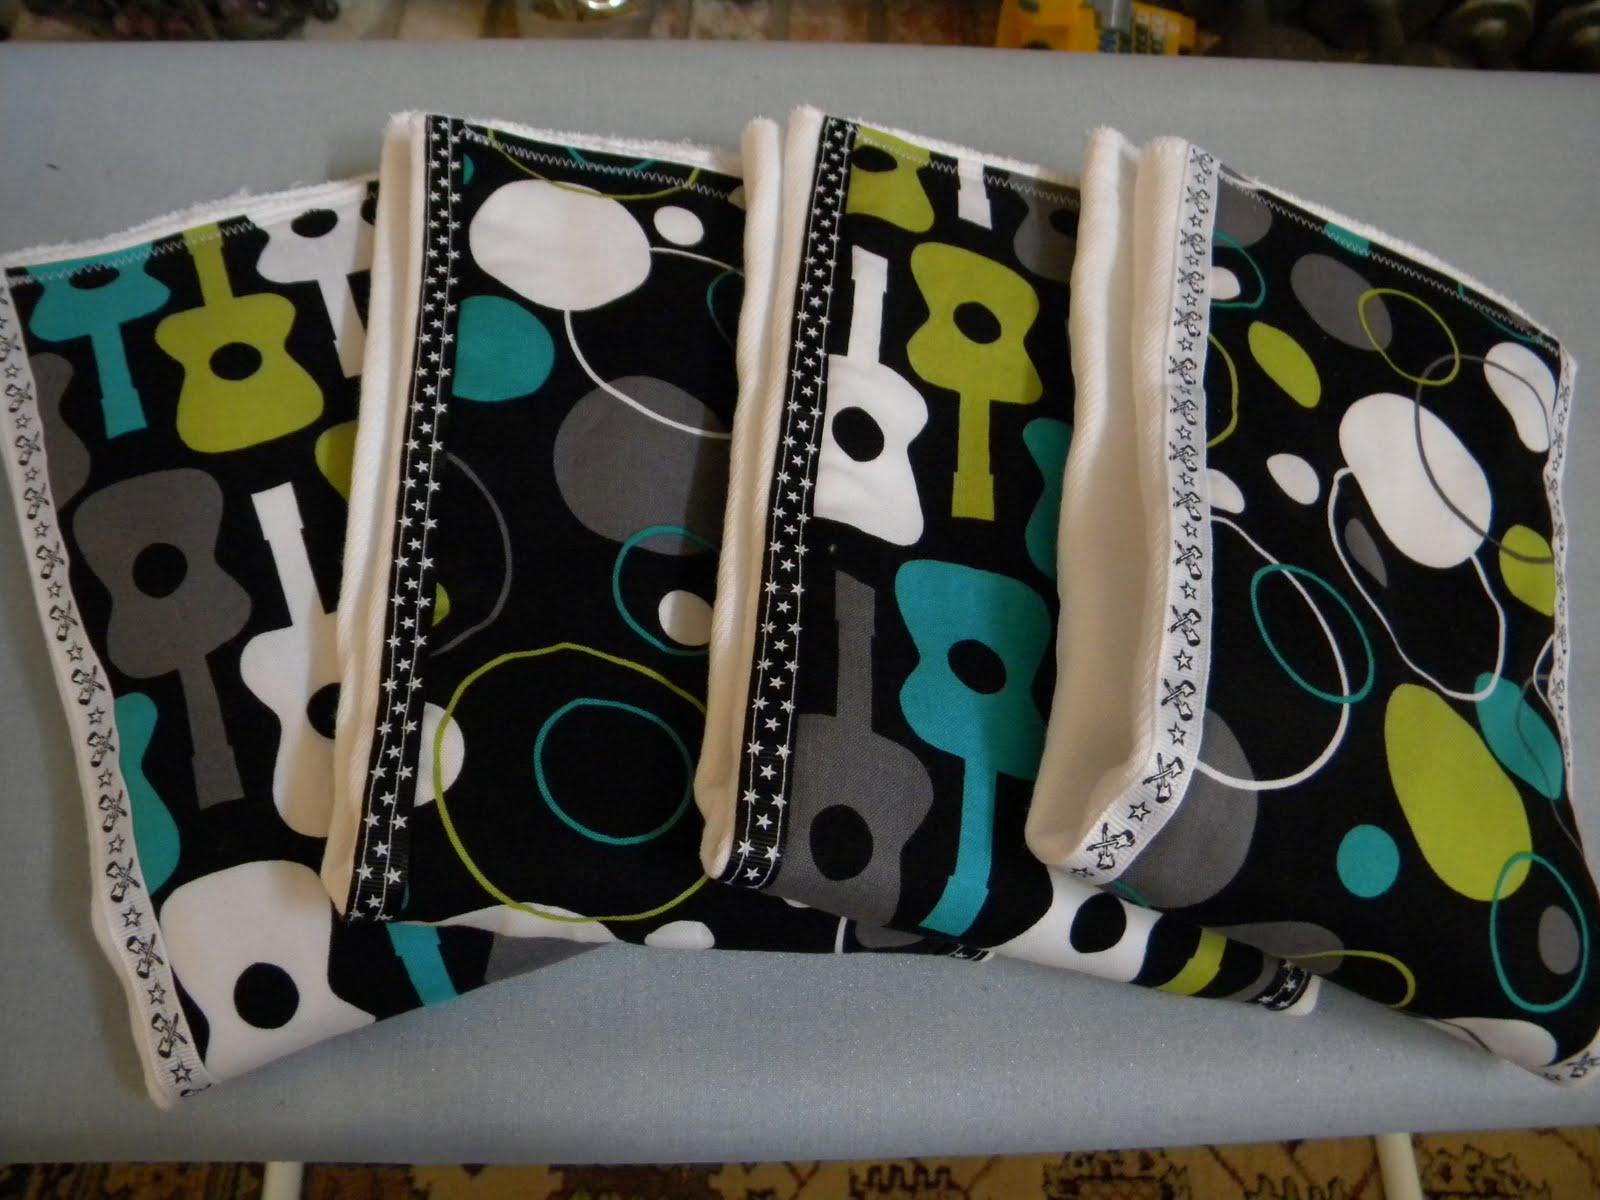
These 4 are for a friend that is having a boy at the end of this month.
The other fabric is Michael Miller Hoopla Dot Lagoon.


2 more I made today. The fabric on the left is Michael Miller Lazy Daisy Gray Fabric. The pink polka dots is fabric I got at Hobby Lobby last weekend. Not sure who is responsible for its making. ; -)


: -)


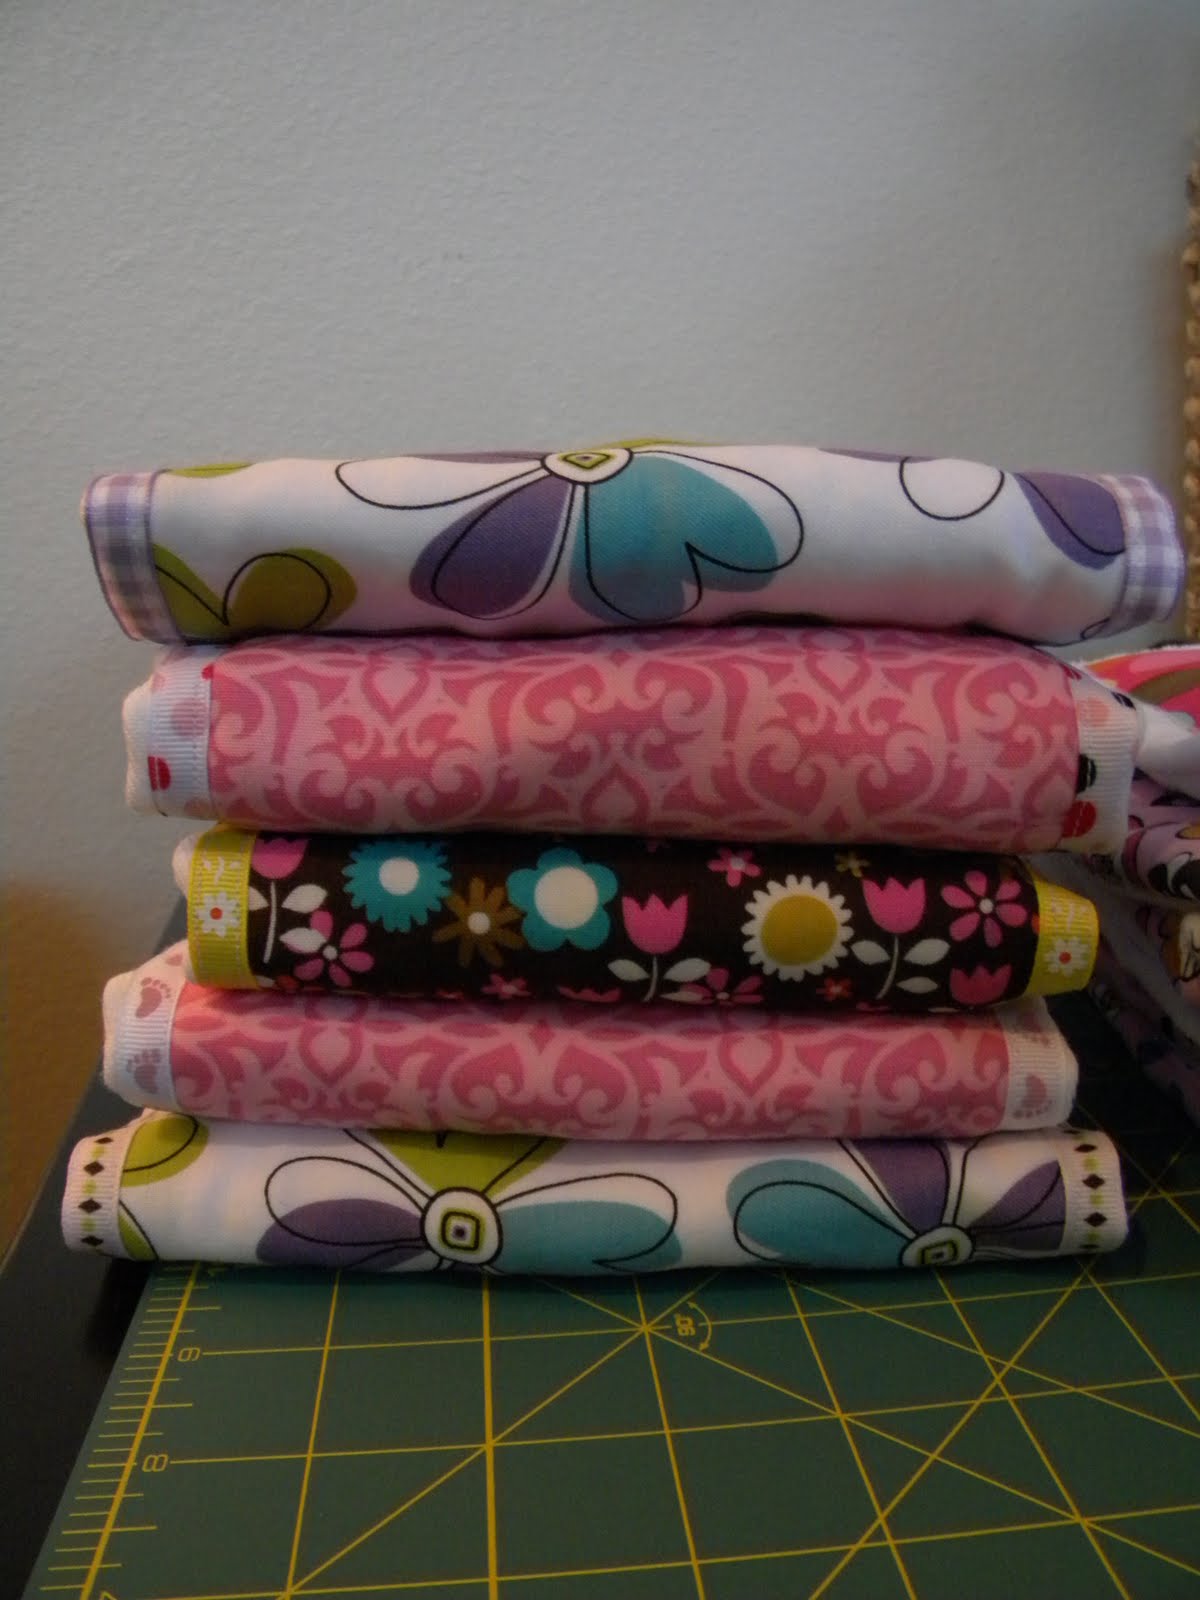
Here are a few that I made last summer.


That's it! Here's your chance to give Spit-up a black (and yet fashionable) eye. Have fun with it. I love taking a piece of fabric, getting out all my ribbon, and just start laying them next to it, seeing what looks good and/or funky together.

~ Thanks for stopping by! ~

Jaime

Monday, April 4, 2011

Pacifier Clips

Happy Monday! I hope you are enjoying it, wherever you are. :-)

Paci Clips. I sure do wish that I had had a few of these when Bugaboo and Baby Girl were younger. If I thought she wouldn't pull it off and chase the dog with it, I'd try it on Baby Girl now. She is constantly dropping her pacifier.....or just seeing how far she can throw it. A friend that is due the end of this month, asked me if I could make a few for her new arrival, so this is what I came up with.

What You'll Need:

7/8" ribbon (16" lengths for each clip.. I got mine from All About Ribbon)
1" Suspender Clips (I got mine at Everything Ribbons in the pacifier supplies section)
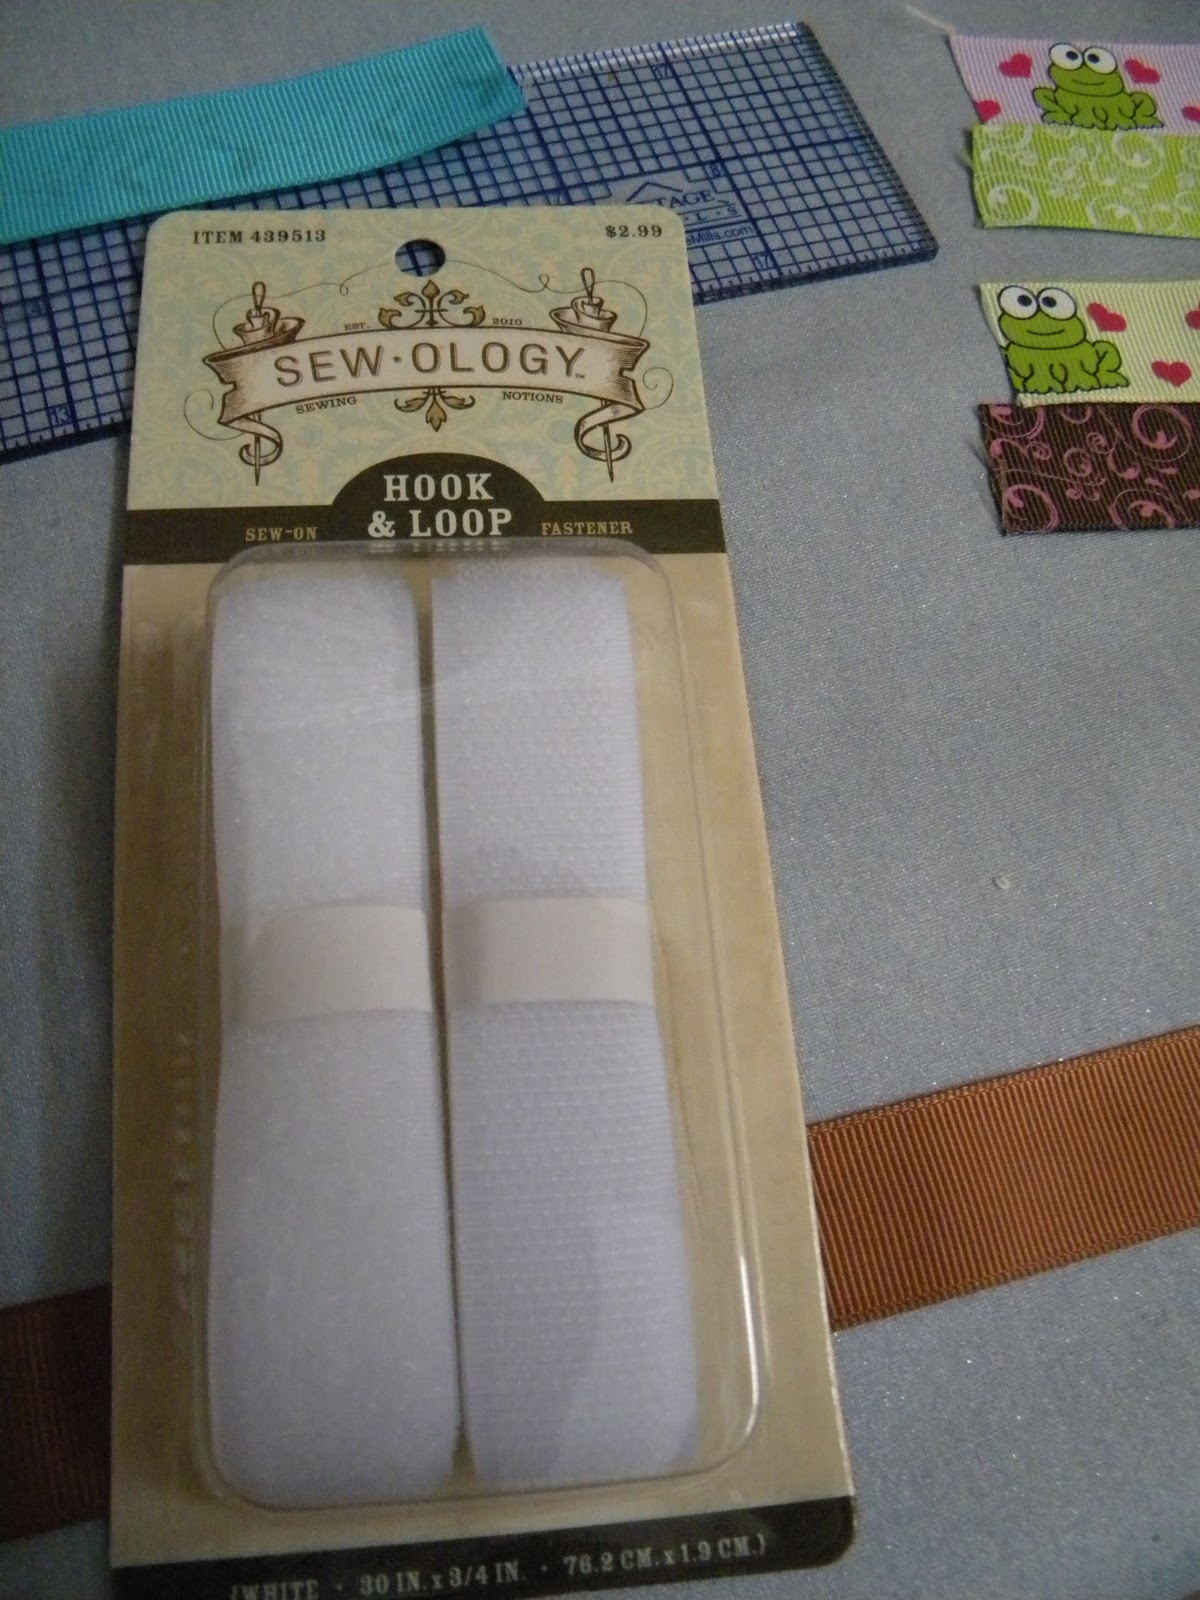
Velcro
Scissors
Sewing Machine & Thread
Straight Pins


Now for the fun to begin! :-)

Cut your ribbon into 16" lengths. With the right side facing down, and the suspender clip upside down, slide one end of your ribbon through the slot at the end of the clip.


Ribbon cut into 16" lengths.


Ribbon and clip right sides down, and putting the end of the ribbon through the slot.


Next, fold the end of the ribbon down about half an inch, and then fold it down again, about an inch, pin it in place,  and using a zig-zag stitch, sew it in place.

The end folded over once at the end, and then folded over again and pinned in place.

Next, fold down the other end of the ribbon, about half an inch, and using the zig-zag stitch, sew it in place. This keeps the end from fraying.


Fold the same end down again, about 3/4 to 1 inch, take the hook side of your Velcro, cut to a 1 inch length, and lay that on top of the folded down end. I trimmed the edges of the Velcro, because it was about as wide as the ribbon.


Folding down the end again, after it was folded down once and sewn in place with a zig-zag stitch.


Placing the Velcro on the folded down ribbon, ready to sew in place with a straight stitch.


Velcro with the edges trimmed off.


After sewing the end with the Velcro in place, measure about 2 inches down from the bottom of the Velcro, and place the Loop side of your Velcro there, and stitch in place. Please make sure to back stitch on each part of this project, to make sure everything is securely sewn in place.

Both pieces of Velcro stitched to the ribbon, about 2 inches apart.


Finished pacifier clip.


That's it! You're done! Finished length is approximately 12".  This is a quick and easy project. Great for gifts, or for your own little one. There's so much ribbon to choose from in craft land, that the possibilities are almost endless. I know I say this a lot, but if any part of my explanation is confusing, please let me know. I can always add more photos if needed. I am a visual learner, so I love lots of photos!

Finished clip with pacifier attached.


Loving these colors, and the frogs are so cute!


~ Thanks for stopping by! ~

Jaime