We are having record temps here in West TX....may get up to 98 degrees today! I was going to get up early, get the kiddos ready, and go grocery shopping before HEB got too crowded, but Mama overslept, soooo I thought I'd add applique to the onesies that I dyed last weekend, instead (tutorial can be found here). I also picked up a package of tank tops for Baby Girl, and thought it would be fun to add a little color to those as well.
 |
| Fabric, Double Stick Fusible Web, and Tank Tops |
Lite Steam-A-Seam2 (you can use Steam-A-Seam2...it feels a little more stiff, compared to the Lite)
Cotton Fabric
Onesies/Tank Tops (or whatever item you want to applique)
Iron/Ironing Board
Pattern/Stencil
Pencil or something to mark with
Scissors
Sewing machine/thread
Now for the fun part! Wash and dry your onesies/tank tops before adding the applique. Decide what kind of shape/pattern/animal, etc, that you want to use for your applique. I went for simple hearts and stars. I already had the stencils, and Baby Girl was thrilled with both.
Iron your fabric, and the shirts. Trace your pattern onto the side of the fusible web that doesn't easily pull away from the sticky part in the middle. (I made a boo-boo and traced on the side that easily pulls away, so I had to cut twice...if you trace on the other side, you'll have the pattern on the back, after you iron the fusible web to your cotton fabric, and then can cut the fusible web and the cotton fabric at the same time...if I've totally confused you, please feel free to ask any questions!)
 |
| Traced shapes on the fusible web |


Now, if I had traced the pattern on the other side of the fusible web, I would simply peel away the side that easily pulls away, place it where I want on the wrong side of the fabric, and iron the right side of the fabric to fuse it together. Since I didn't, at this point, I cut out the pattern on the fusible web, and then followed the instructions to fuse it together with the fabric.
 |
| Removing one side of the fusible web. |
 |
| Placing the fusible web, sticky side down, on the wrong side of the fabric. |
 |
| Ironing to fuse them together. |
 |
| Cut-out heart, ready to be fused to the shirt. |
 |
| Peeling away the backing of the fusible web. |
 |
| Placing the applique on Baby Girl's tank top. |
Now iron your applique in place...about 30 seconds.

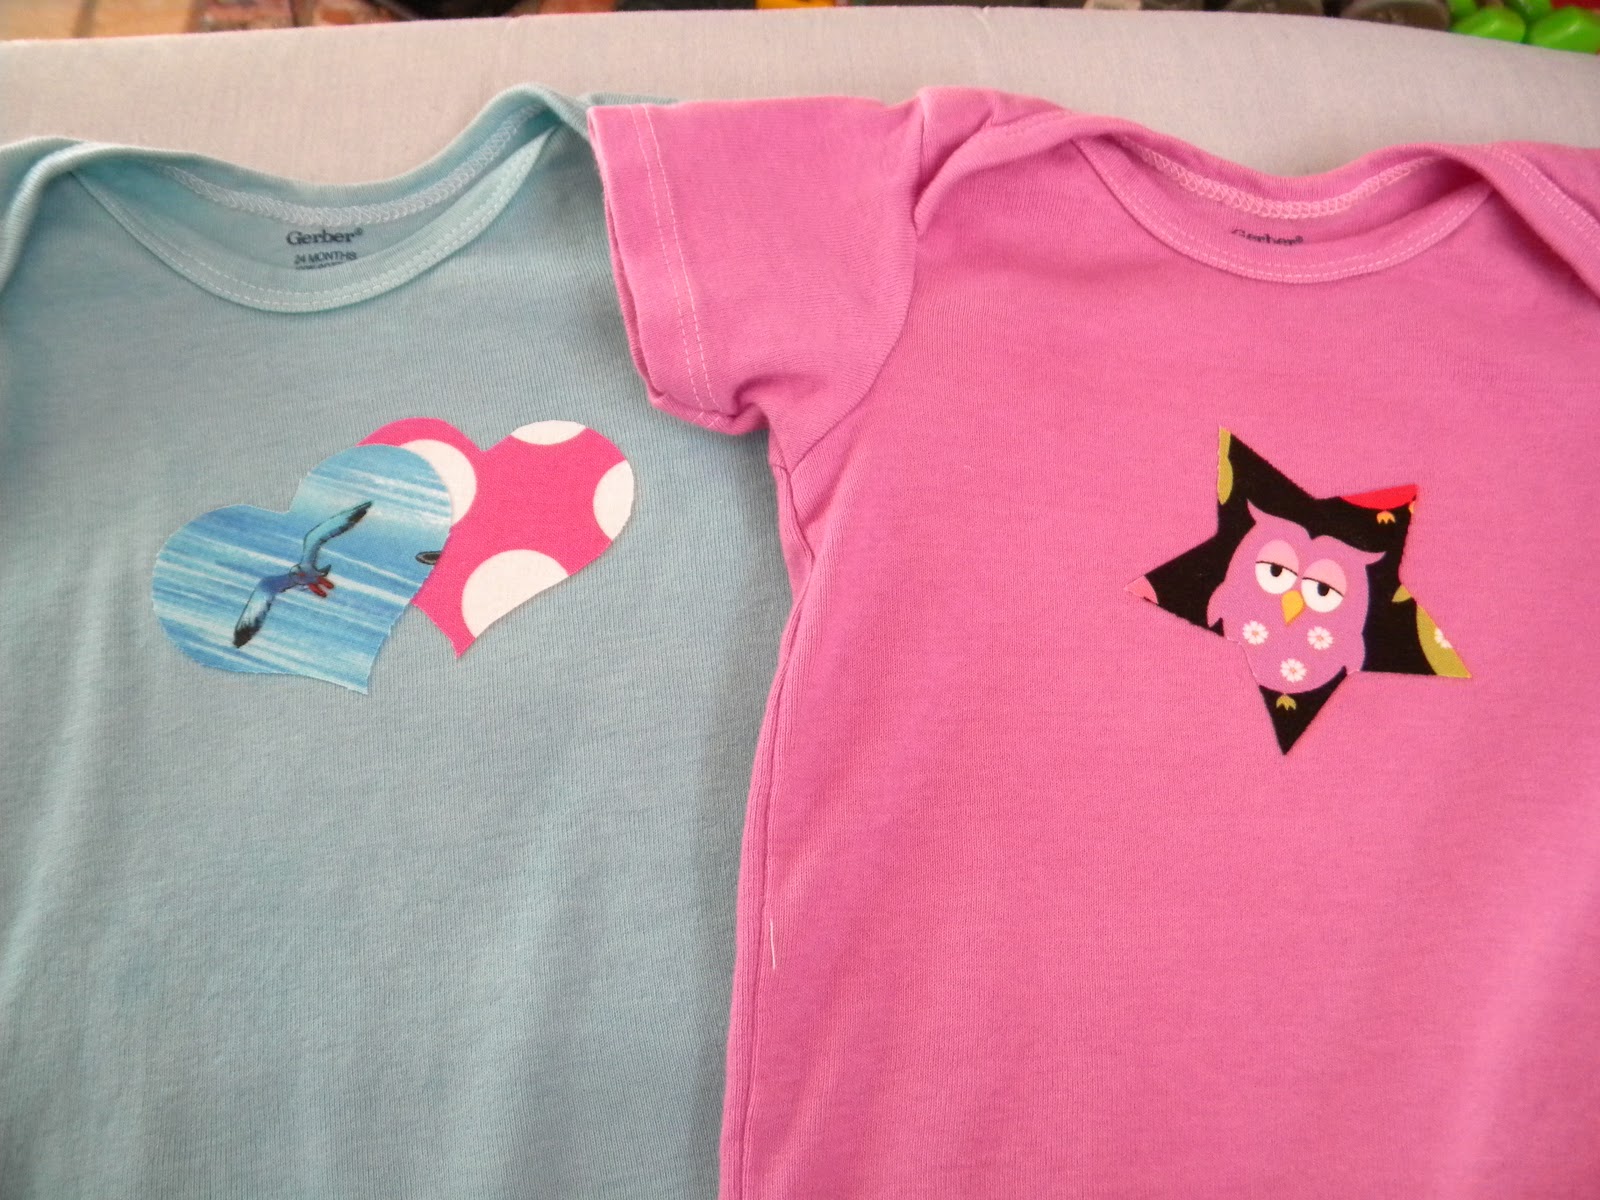
You can stop here, and you're done! The applique is permanently bonded to the shirt. Or, you can stitch around the edges to add a little "something extra" to it. It will also help to keep the edges from fraying a bit after washing/drying.


 |
| A onesie and a tank top with stitching around the edges. |
 |
| White tank top that needs stitching around the heart. Love this fabric. Reminds me of Maine. |
 |
| A tank top that still needs stitching around the stars. |
Again, I hope I haven't been too confusing, trying to explain the process, and I hope you have fun with it! Oh yeah, just a few more photos.....
 |
| Baby Girl modeling her new tank top. She couldn't wait to put it on! |
 |
| Someday I'll find a way to convince her to part with her paci.... : -) |
~ Thanks for stopping by! ~
Jaime
Cute project very nicely demonstated. I've included it in the comments of Applique Thursdays over at http://quiltingreadersgarden.blogspot.com/2011/07/applique-thursday-7711.html
ReplyDelete