Howdy! I feel like I've been MIA for way too long. I planned on posting this tutorial over the weekend, and instead, the flu hit us, and decided to stick around for a few days. Blech. So glad it is finally gone! I hope all of you are doing well and staying healthy. :-)
Okay, now for some fun with a new obsession of mine. Fabric covered buttons. Soooo quick and easy to make, and you know I love quick and easy. :-)
 |
That looks like a jumbled mess...
|
What You'll Need:
Buttons w/flat backs (I used size 36 and 45 in this tutorial)
Fabric
Book marker Paperclips w/glue pad
Scissors
Magnets
Glue Gun & Glue Sticks
Cover Button Assembly Tool (for each size you're using)
You can get the buttons, paperclips, assembly tool, and even the magnets at
EverythingRibbons on Etsy. I LOVE this shop. :-)
Okay, first thing is to decide which fabric to use. I picked 5 or 6 different patterns and used up some scrap pieces I had. If you purchase your supplies from EverythingRibbons, you'll get instructions and a pattern to cut out your fabric. My lazy way of doing it is to just cut out a circle I know is large enough, and then trim it down.
 |
I've chosen to cut a circle around the orange flower so it will show up on the button.
|
 |
Another pattern I cut out, so it will show up on the button.
|
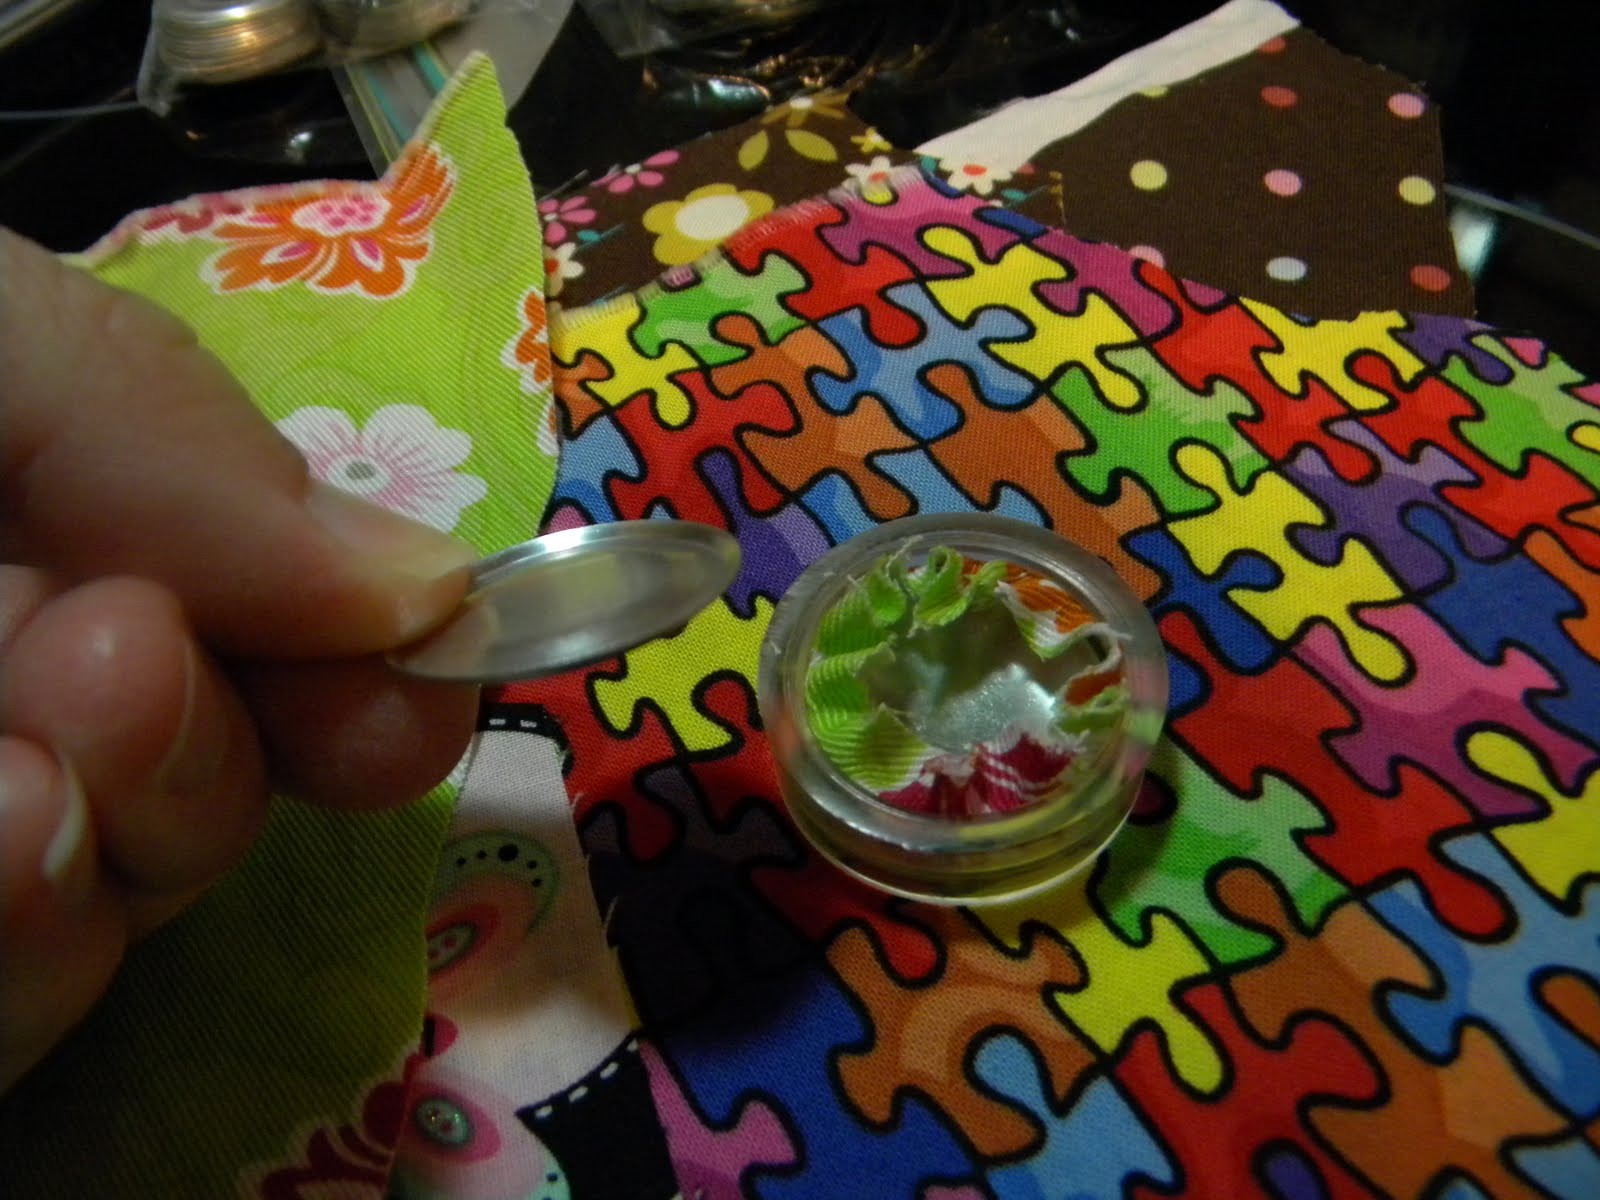
After you've cut out your circle (either using a pattern, or doing it my way), lay it right side down on the assembly tool (pictured to the left in the photo above). Take your button, and center it on the wrong side of your fabric, and use the small blue circle part of the assembly tool to push it down into the larger clear circle.
 |
Cut out circle on top of assembly tool.
|
 |
Button (also right side down) centered on the flower I want to show on the front of the button.
|
 |
Button centered on another pattern.
|
 |
Pushing down on the button with the smaller blue circle.
|
 |
What it looks like when it's pushed down into the assembly tool.
|
 |
Ooohhh, so pretty. : -)
|
Now it's time to trim the excess fabric. If you do it the "right" way and cut your circle out using a pattern, you can skip this step. I just trim around until it's almost (but not quite) flush with the bottom part of the assembly tool.
 |
You want to make sure there is enough fabric left around the edge for the back of the button to "grab" onto.
|
 |
Another view of a button with the fabric trimmed down and ready to add the back to it.
|
Now it's time to add the back to the button. I use the edge of the back to push the edges of the fabric down into the center before laying it down on the back (I think I'm confused with that explanation). Just try to not have any edges of the fabric sticking straight up. It makes it easier to push the backing in place. Make sure the curved up edge of the backing for the button is facing up.
 |
Curved edge of backing facing up.
|
 |
Laying the backing down, making sure none of the edges of the fabric are poking up or "escaping".
|
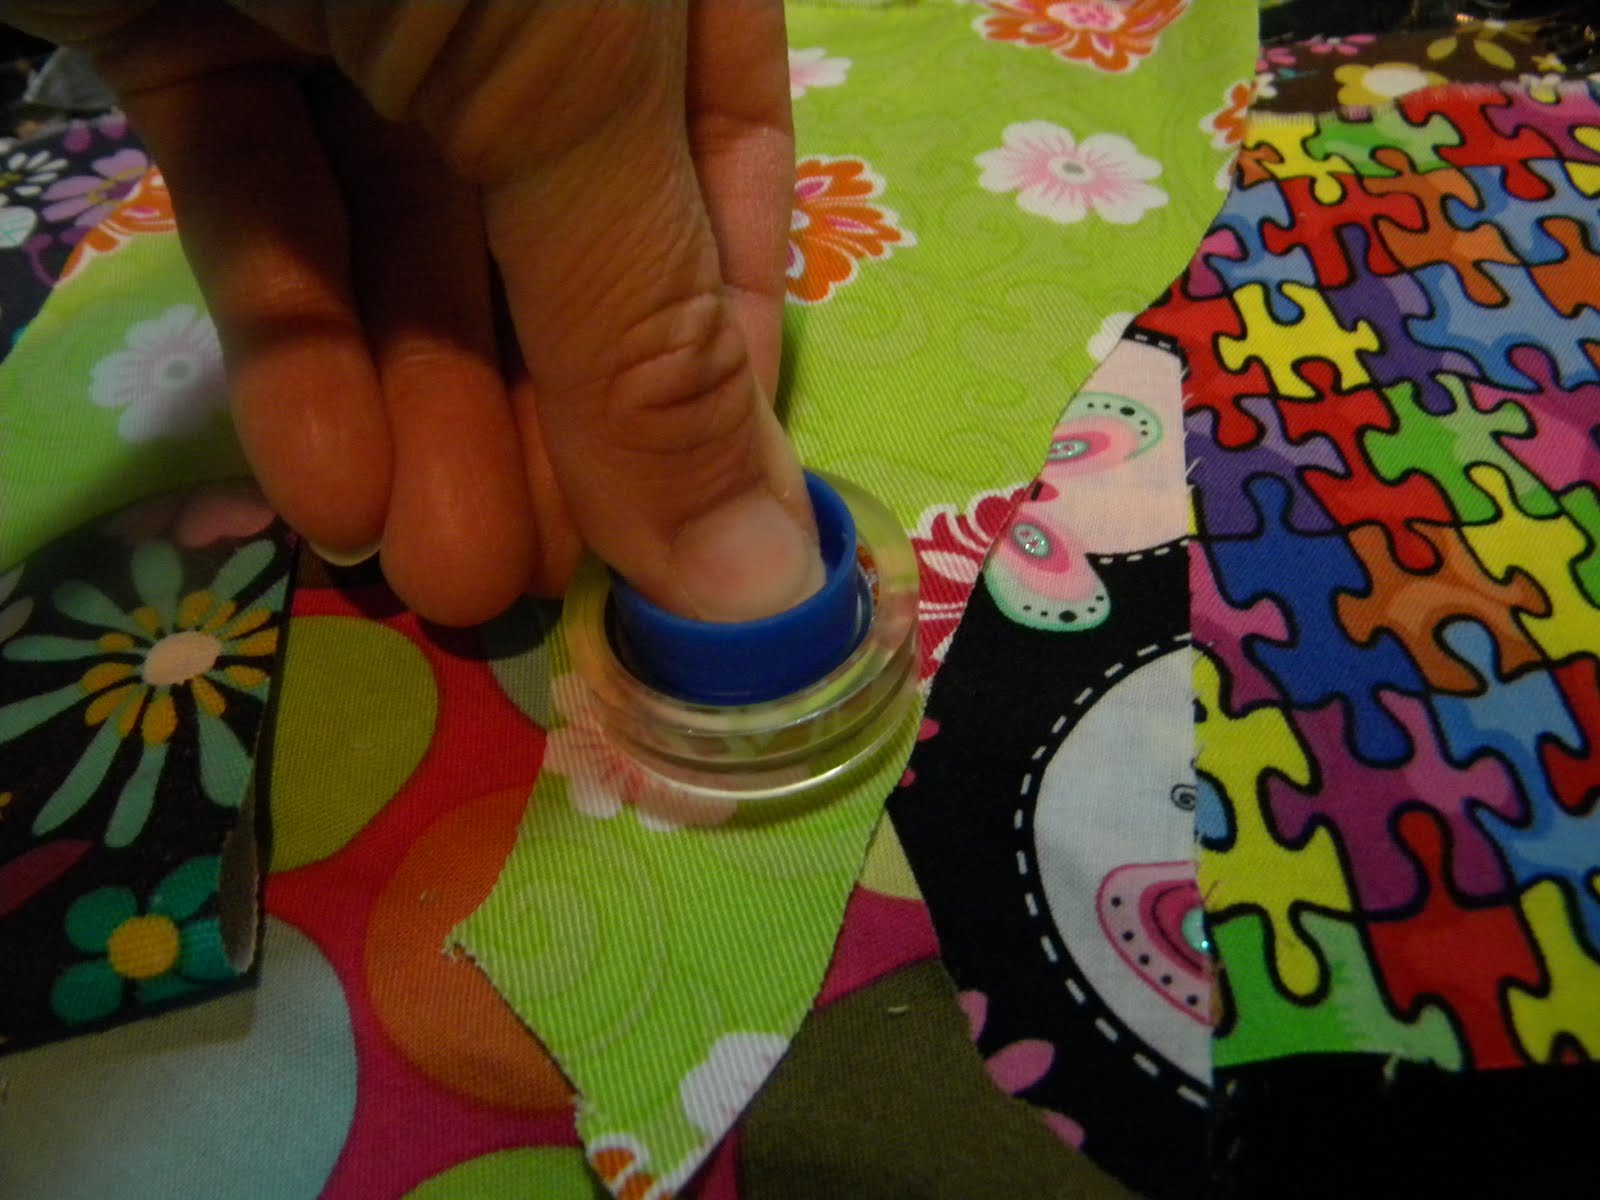
Now take the blue circle part of the assembly tool and use it to push down on the backing until you feel it pop into place.
 |
You can use the blue circle this way or........
|
 |
.....this way. I find it is easier to push down on the backing this way.
|
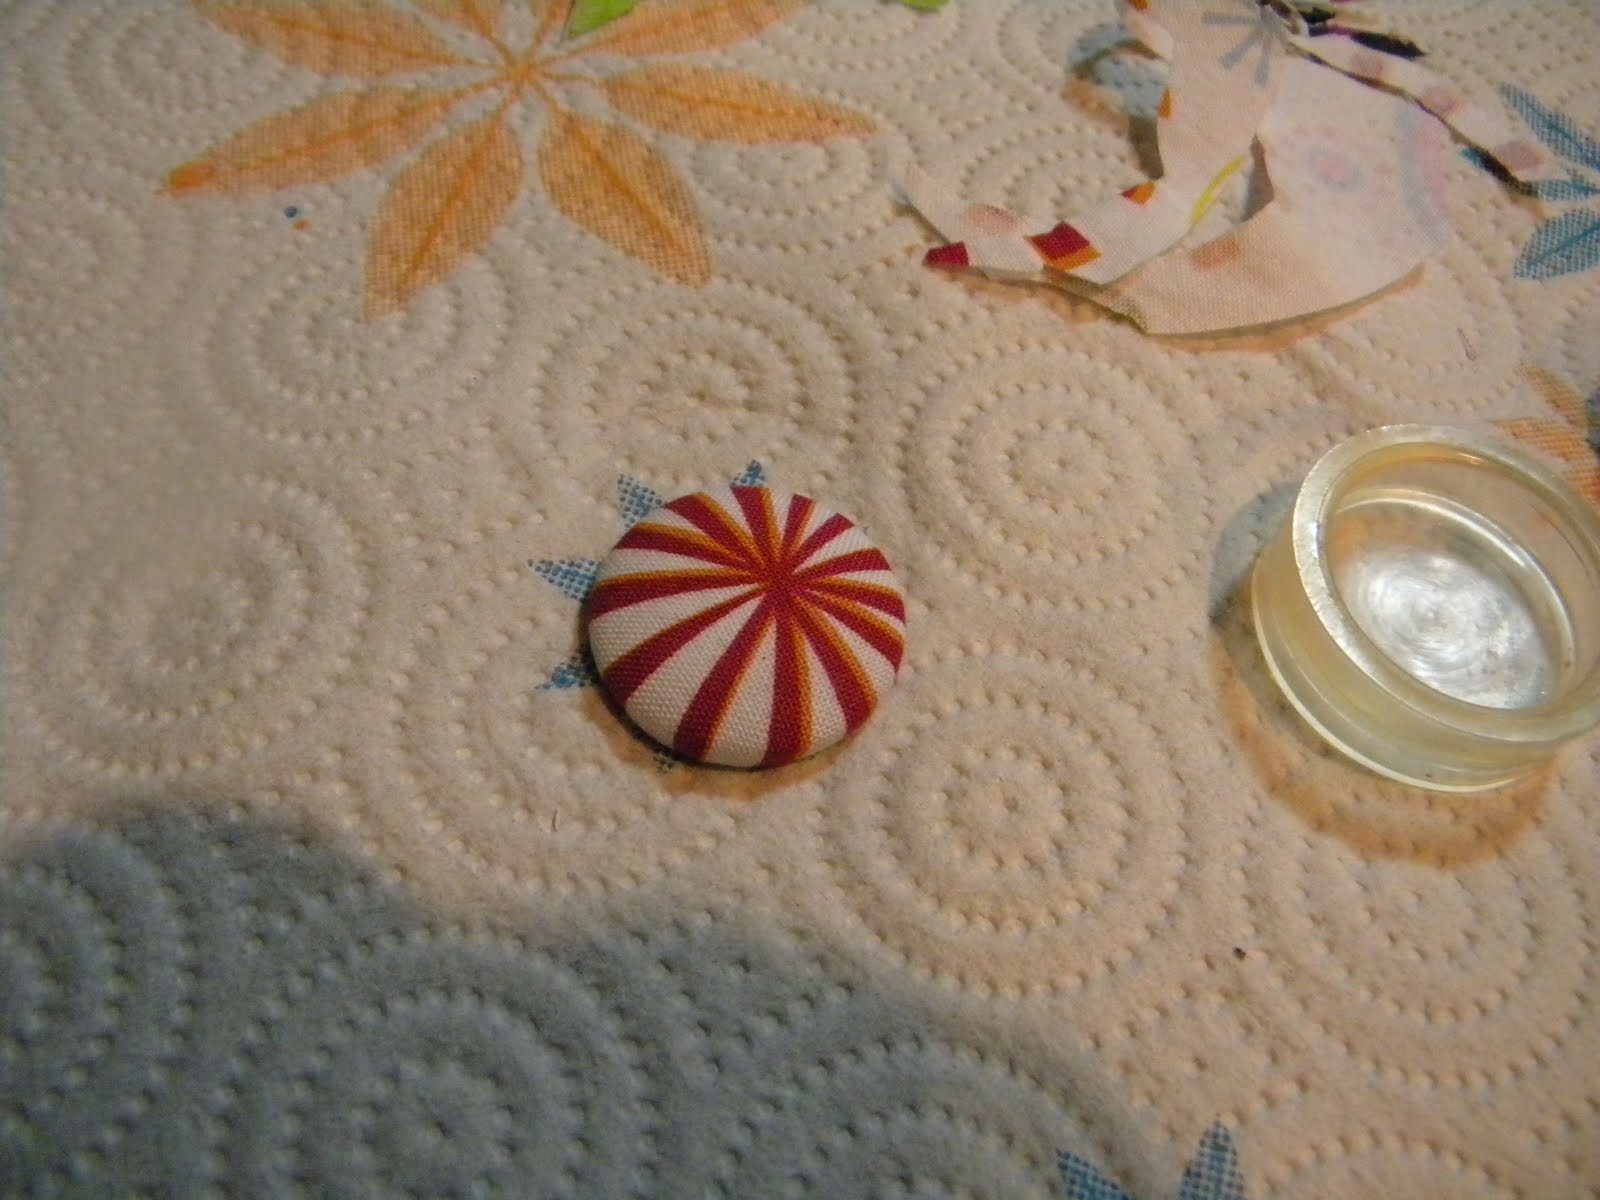
After the backing is in place, turn it over and pop out your fabric covered button!
 |
Turning it over to remove the button.
|
 |
Yay! So pretty. : -)
|
 |
Love how this one turned out.
|
Okay, now to use the buttons you've made to make some magnets and bookmarks. I used the size 45s for the bookmarks and the 36s for the magnets. The 45s would work well for magnets, too.
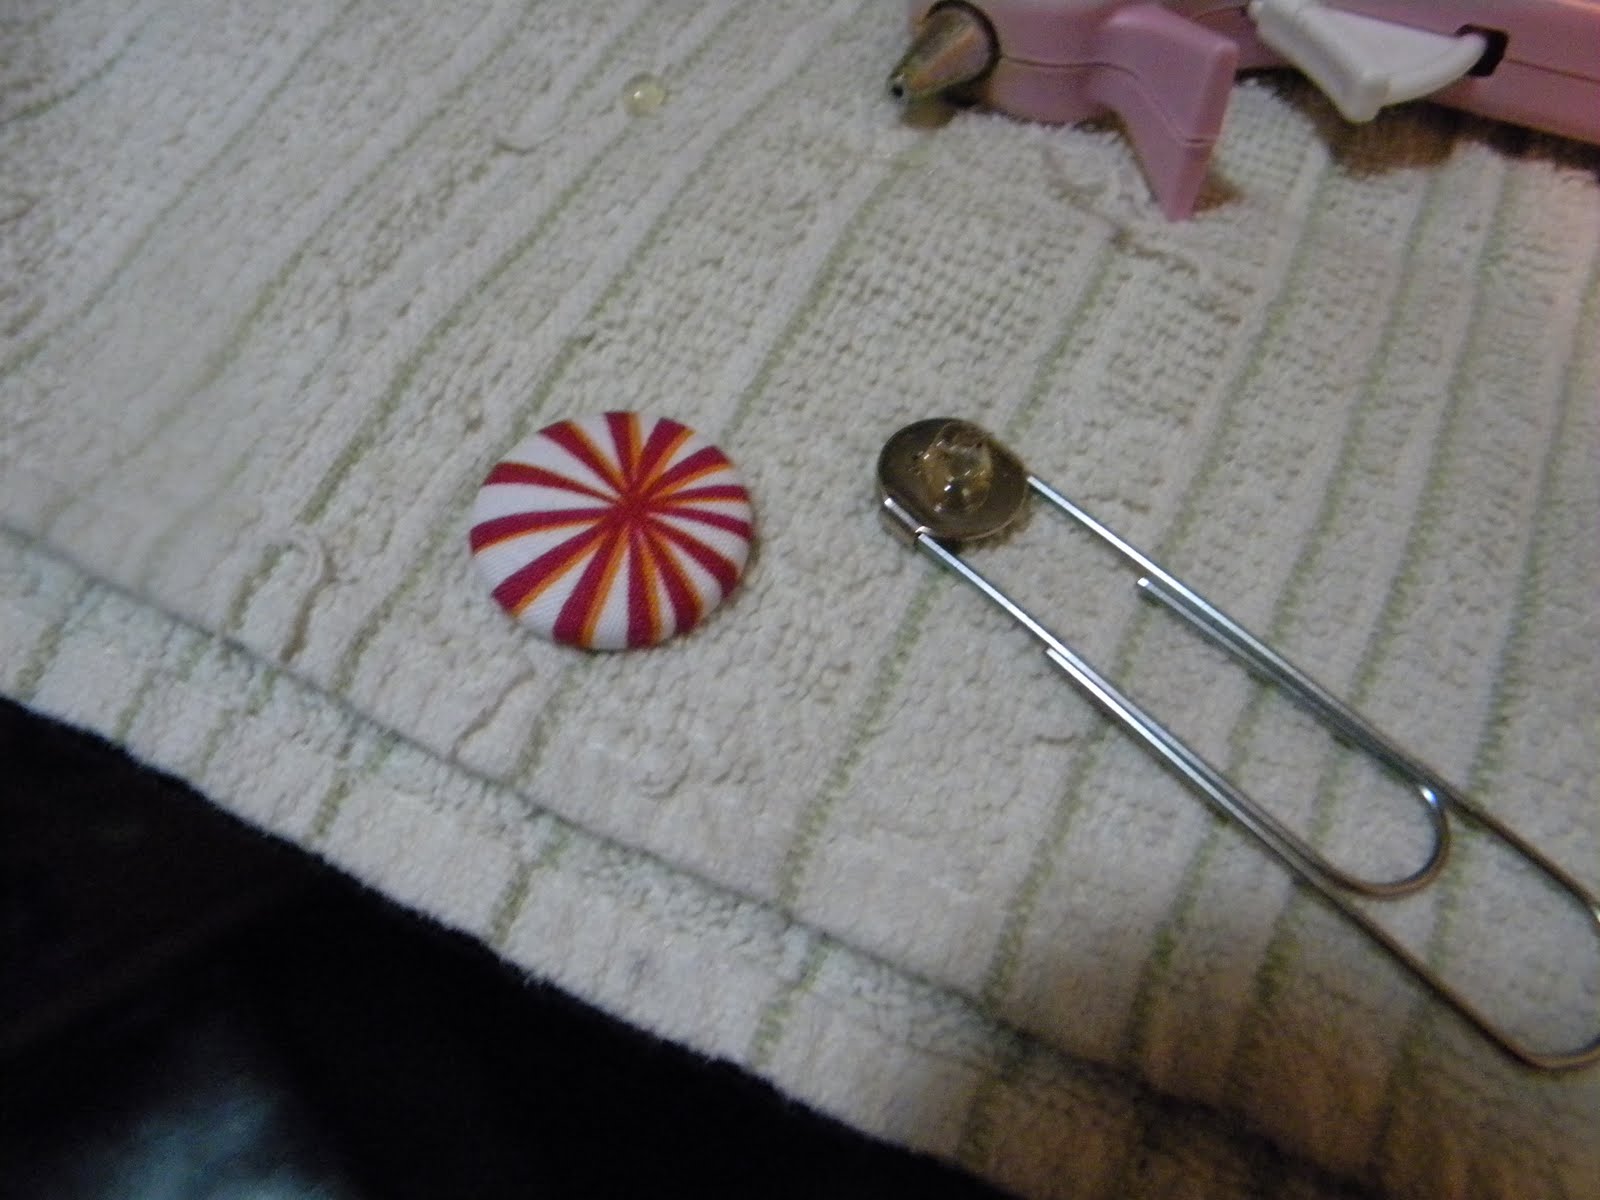
Using your glue gun, put some glue on the glue pad of the bookmark paperclips, and press down on the center of the back of your button. Let set, and you're done! So easy.
For the magnets, add glue to the magnet, and press down on the back of your button. How quick and easy is that?? :-) I feel like this post is 10 times longer than it needs to be for something that is so easy to make, but for anyone that has read my previous posts, you know how much I love photos. I find it easier if I can see what is going on.....so here are a few more photos.
 |
Button and bookmark paperclip with glue on the glue pad.
|
 |
Woohoo! So easy, and adorable, and what a great gift for a book lover in your life. : -)
|
 |
| Glue on the magnet.... |
 |
.....and you're done!
|
 |
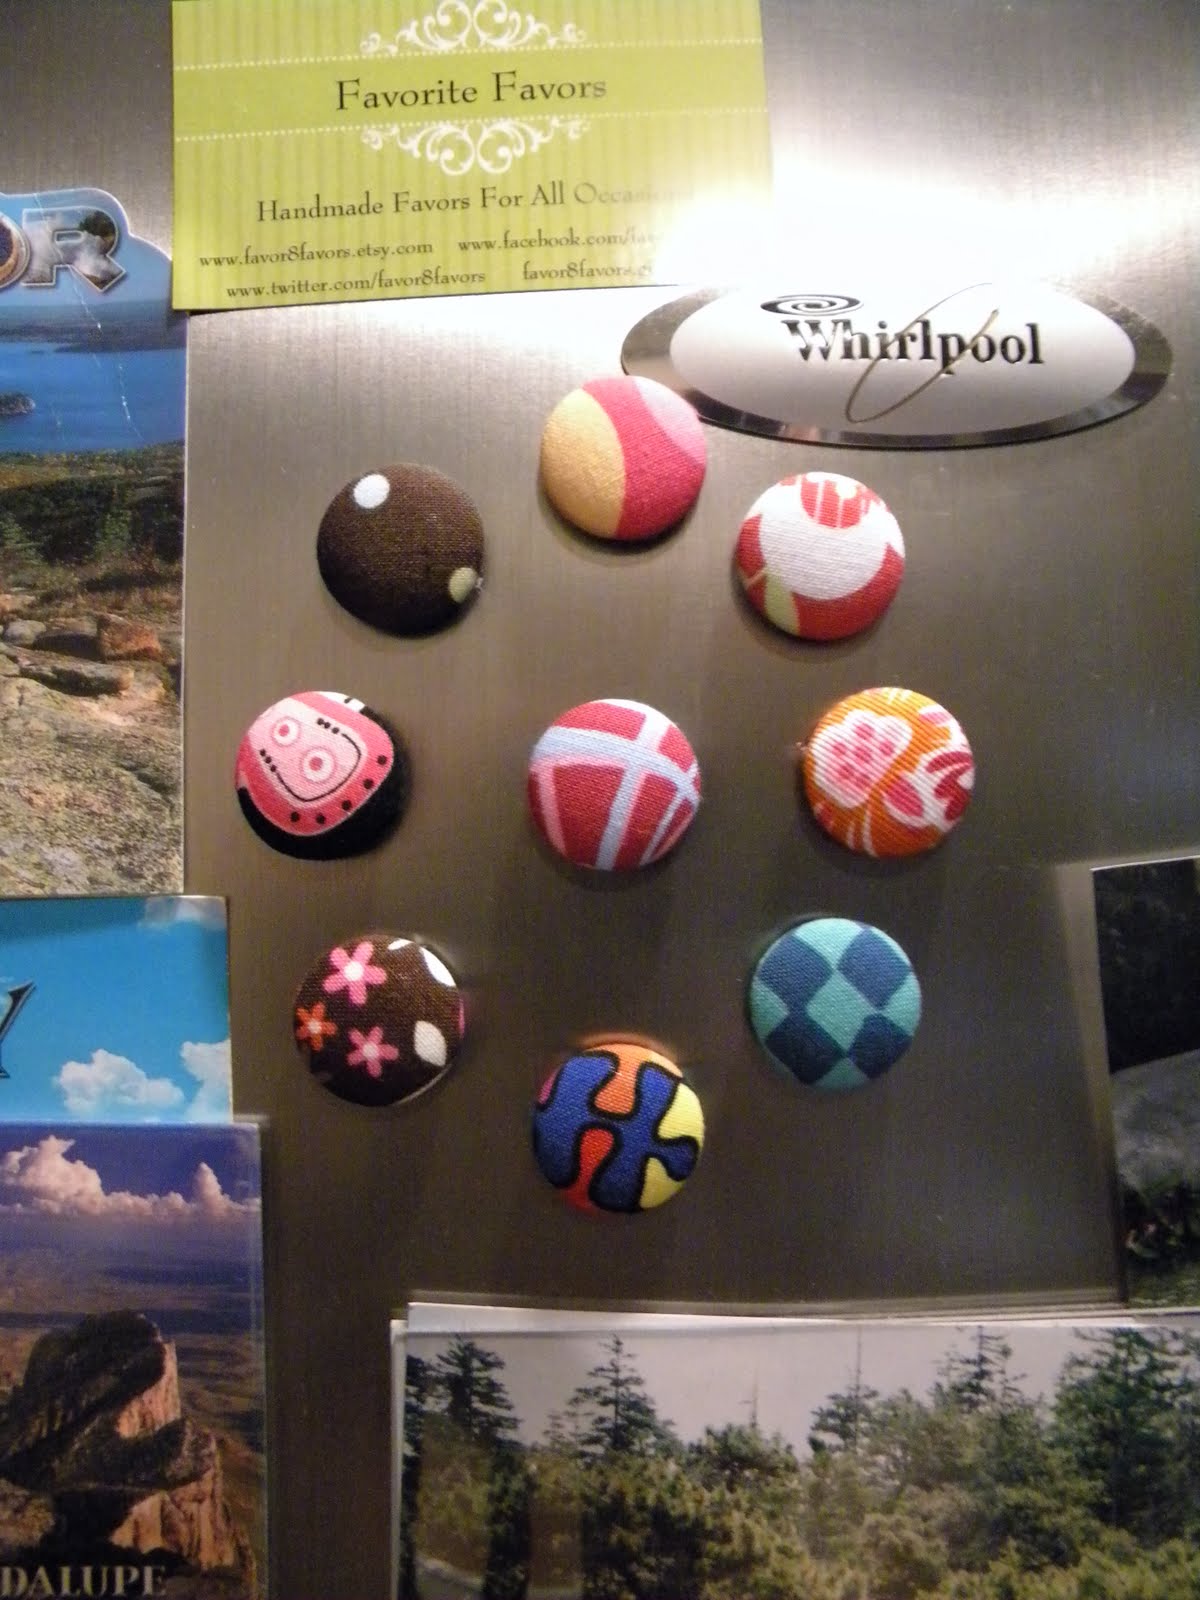
I can never have too many magnets on my fridge.
|
 |
A few bookmarks.
|
 |
What a great little gift. I put 6 magnets in the tin. Who doesn't love magnets? : -)
|
I hope you've enjoyed this tutorial and an overdose of photos. This is a great project to get the kids involved in as well.
~ Thanks for stopping by! ~
Jaime


very cute! I too love making buttons! I love the way you used them! Im going to have to check out that etsy shop to get some of those Book marker Paperclips! I LOVE this idea!
ReplyDeleteAdorable! I love this idea, too! They look so adorable. I've always wanted to try fabric covered buttons but have been nervous b/c I've heard a few people say they were a little difficult. But yours look so perfect and cute I think I'll have to try!
ReplyDeleteRachel @ Maybe Matilda
Very cute! I will give this a try.
ReplyDeleteHow cute!! Thanks for the tutorial, visiting from Amanda's party!
ReplyDeleteLove Love Love the button magnets! Great tutorial too! Visiting from Serenity Now :)
ReplyDeleteGreat tutorial!! I love how versatile this craft is. :) Love the little bookmarks!
ReplyDeleteThanks for joining my Weekend Bloggy Reading party. Happy Easter! :)
such a cute idea! thanks so much for sharing where to buy the supplies! Iam visiting from www.everythingelseilove.blogspot.com
ReplyDeletecome on over for a visit! Hope you had a wonderful easter weekend!
These are pretty!
ReplyDeleteJust want to let you know that I am passing on the 'Versatile Blogger' award to you because I love your projects. You can check out my post to get the badge and for more information about the award:
http://ofpinksandfairytales.blogspot.com/2011/04/blog-award.html
Happy Monday! :)
Thanks Ladies, and thank you so much for stopping by! It's always a pleasure to know that your projects are enjoyed by others. @Rachel, after you try a few, it's very easy! You could easily make dozens of these in no time. Hope Y'all had a great Easter weekend! :-)
ReplyDeleteLove this so much. I'm going to feature this on Wednesday! Come grab a button.
ReplyDeleteVery cute.
ReplyDeleteoh these are soo great! what a fun idea!
ReplyDelete