Paci Clips. I sure do wish that I had had a few of these when Bugaboo and Baby Girl were younger. If I thought she wouldn't pull it off and chase the dog with it, I'd try it on Baby Girl now. She is constantly dropping her pacifier.....or just seeing how far she can throw it. A friend that is due the end of this month, asked me if I could make a few for her new arrival, so this is what I came up with.
What You'll Need:
7/8" ribbon (16" lengths for each clip.. I got mine from All About Ribbon)
1" Suspender Clips (I got mine at Everything Ribbons in the pacifier supplies section)
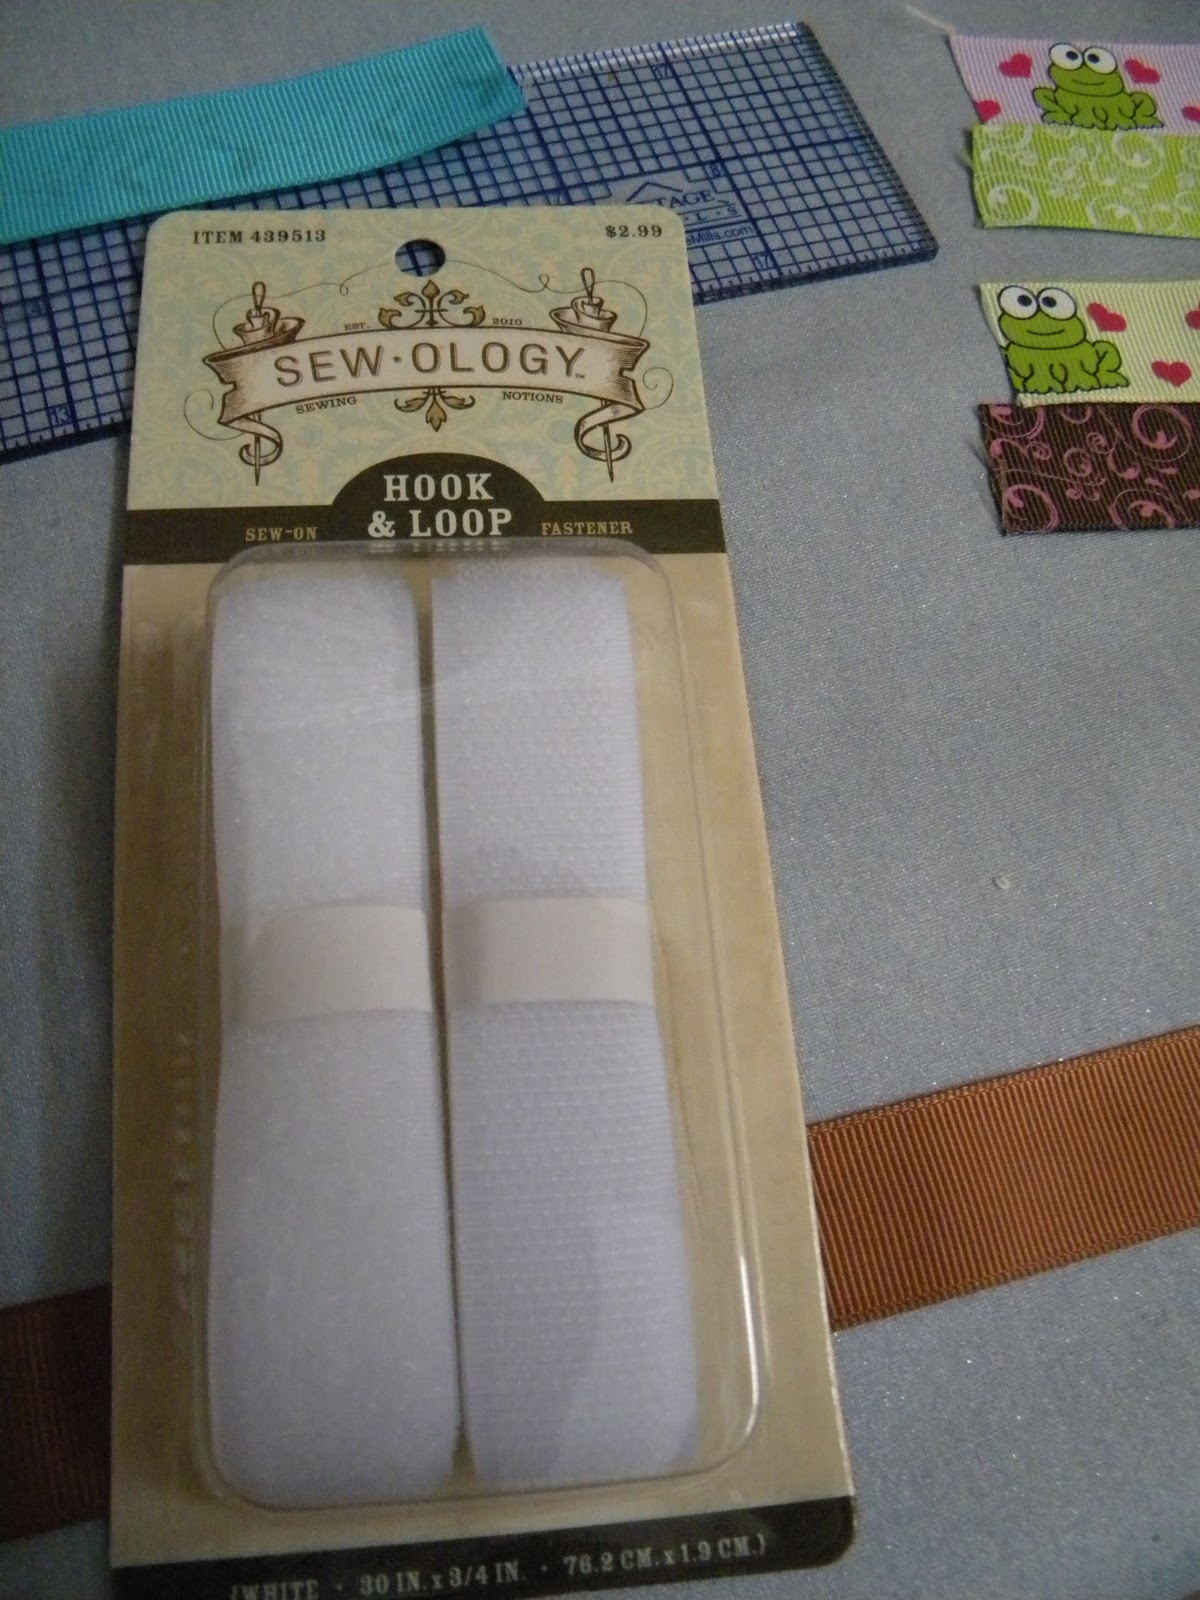
Velcro
Scissors
Sewing Machine & Thread
Straight Pins

Now for the fun to begin! :-)
Cut your ribbon into 16" lengths. With the right side facing down, and the suspender clip upside down, slide one end of your ribbon through the slot at the end of the clip.
 |
| Ribbon cut into 16" lengths. |
 |
| Ribbon and clip right sides down, and putting the end of the ribbon through the slot. |
 |
| The end folded over once at the end, and then folded over again and pinned in place. |
Next, fold down the other end of the ribbon, about half an inch, and using the zig-zag stitch, sew it in place. This keeps the end from fraying.

Fold the same end down again, about 3/4 to 1 inch, take the hook side of your Velcro, cut to a 1 inch length, and lay that on top of the folded down end. I trimmed the edges of the Velcro, because it was about as wide as the ribbon.
 |
| Folding down the end again, after it was folded down once and sewn in place with a zig-zag stitch. |
 |
| Placing the Velcro on the folded down ribbon, ready to sew in place with a straight stitch. |
 |
| Velcro with the edges trimmed off. |
 |
| Both pieces of Velcro stitched to the ribbon, about 2 inches apart. |
 |
| Finished pacifier clip. |
 |
| Finished clip with pacifier attached. |
 |
| Loving these colors, and the frogs are so cute! |


~ Thanks for stopping by! ~
Jaime

Oh my gosh! I need to make like 20 of these. My son has figured out how to pull the velcro apart in the car when he's mad. They are all worn out. I must try this the next time I get the sewing machine out. Thanks a bunch! They look great.
ReplyDeleteSo cute! Definitely adding this to my "to-attempt" list :)
ReplyDeleteI am not crafty at all!! I love this!
ReplyDeleteThanks for stopping by yesterday!
Those are awesome thank you so much for the tutorial I actually have been looking for a tutorial for these. I found you through blue cricket designs link party. come say hi
ReplyDeletetyandwhitneyulrich.blogspot.com
Love your blog so many cute projects so far and can't wait to see what you do next!
ReplyDeleteThanks, Ladies! I love making these...they're so quick. I made these ones in about an hour. Thanks so much for stopping by!
ReplyDeleteSuper cute tute and great pics! Thanks so much for linkin up. Can't wait to see what you have for next week.
ReplyDelete