 |
| Ooohhh, maybe my next project should be a key fob wreath. Not practical, but definitely pretty. : -) |
Key Fobs. Never really thought about them before. I never saw myself using one. Well, being a lover of all things crafty, I saw supplies to make some at
Everything Ribbons on Etsy when I was getting suspender clips for the
Pacifier Clips I made a few weeks ago, and decided to try making them. This is another very easy project, and they're SO practical! I've been using one for about 3 weeks now, and I'm wondering where it's been all my life. It frees up my hands, and that is helpful with 2 kiddos, and I'm not constantly searching for my keys anymore.
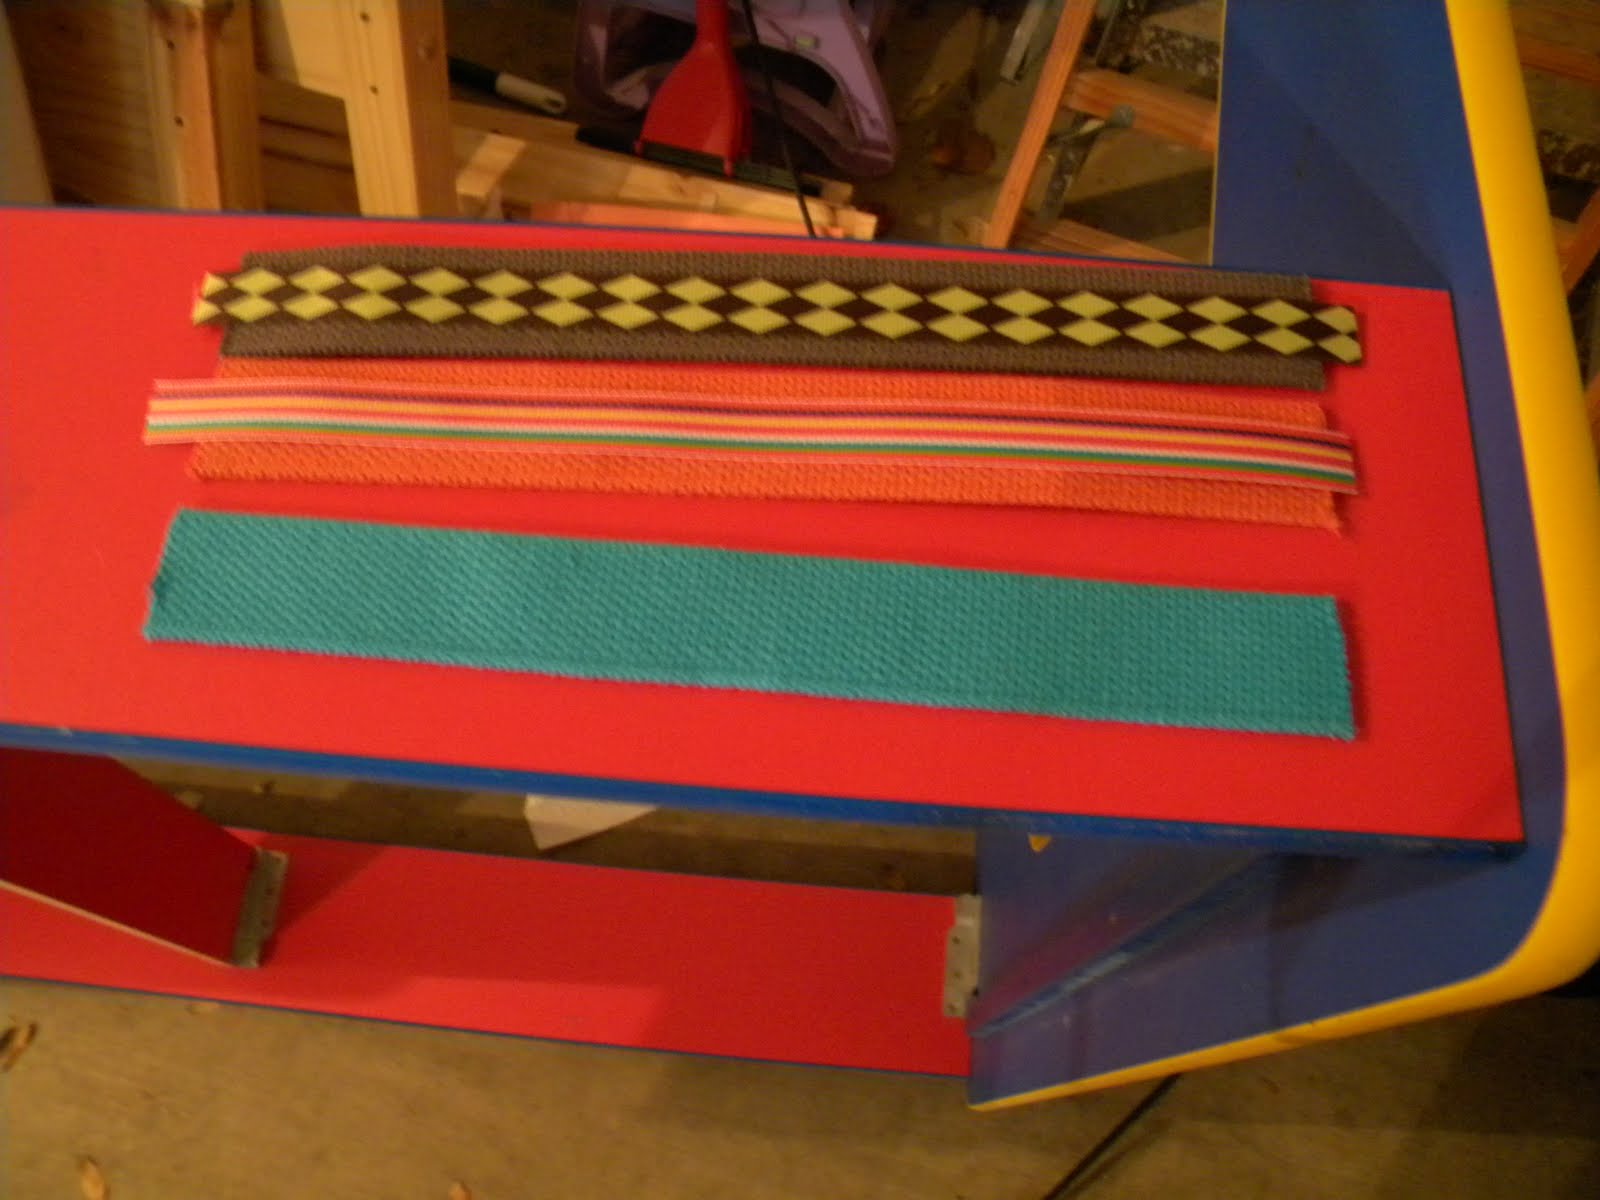
What You'll Need:
Heavy Weight 1.25" Cotton Webbing
Key Fob Hardware
Sewing Machine/Thread
Ribbon (or you could use fabric) - I used 5/8" ribbon
Something to make the ribbon stick to the webbing until you can sew it in place - I used Easy-Tack
Pliers to close the hardware - I strongly suggest getting
these if you want to make a lot of fobs...the ends are already protected so you don't scratch the hardware....or you could try wrapping the ends with duct tape
 |
| Please ignore the mattress in the background. I sprayed the Easy-Tack out in my garage. : -) |
First, decide which color webbing and ribbon you want to go together. Cut the webbing at a length of 10-10 1/2". I did a few at 11", and they were a little big for my hand/wrist, but those ones did fit my Fiance's hand just fine, so you can make them at 11" for a guy.
If you decide to use the Easy-Tack, make sure you're in a well-ventilated area. It's not a really strong smell, but you probably won't want to spray it in your house. Spray the back side of your ribbon, and then place it wrong side down onto your webbing and press into place. I let these set for at least 10 minutes.
 |
Just sprayed the back/wrong side of the ribbon with Easy-Tack
|
 |
I have horrible lighting in my garage...but you get the idea of placing the ribbon onto the webbing. : -)
|
Next, sew the ribbon in place. I thought the webbing might give me some problems since it is a little thick, but I didn't have any issues. I stitched down each side of the ribbon. Remember to back stitch on each end.
 |
A stack of them with the ribbons stitched in place
|
Trim the ends so the webbing and ribbon are the same length.
 |
I love the bright colors. : -)
|
To make it easier to keep the ends in place when adding the key fob hardware, I stitch the ends together. No need to worry about back stitching.
 |
Stitch the ends to hold them together.
|
 |
Ready to add the hardware. : -)
|
 |
Side-view
|
Now to attach the hardware. Place the end of the webbing into the hardware and make sure they line up.
 |
Hardware & Pliers
|
 |
Placing the end of the webbing into the hardware and getting ready to close it.
|
Squeeze gently in the middle of the hardware. Even with the protection on the end of the pliers, if you squeeze too hard, you could still make marks on the hardware. Next, move the pliers towards one outside edge and squeeze again. Repeat on the other side, and then do it again in the middle. Make sure the little "grabbers" on the inside of the hardware have grabbed the webbing and that it is securely attached.
 |
Squeezing the hardware to close it.
|
 |
Squeezing closed one outside edge and then the other.
|
 |
One more squeeze in the middle.... do you think that "squeeze" should be the word of the day?? : -)
|
Now all that is left to do is attach the key ring on the end, and you're done!
 |
Attaching the key ring
|
 |
Yay! All finished (okay, I have a few more to finish...)
|
These are easy to make and they make great gifts. My Mom saw the photos of the finished ones and gave me a subtle (not really, she said "I want THAT one") hint that she'd like to have one. : -)
 |
NOW I'm all finished. : -)
|
 |
The ones on the left and right were made with 11" webbing. I'm using the one on the left...a little big but I haven't bothered to switch to another one yet.
|
I hope you've enjoyed this tutorial as much as I've enjoyed sharing it with you.
~ Thanks for stopping by! ~
Jaime
Come join in the fun at
These Fabulous Parties!


Love this! I need something like this to help juggle a toddler, purse, and whatever else I'm carrying while trying to find my keys to get in/out of my car!
ReplyDeleteSUPER cute!!! I might have to try this!
ReplyDeleteLovin it!!! Where do I get the hardware? I am your newest follower! Hope you stop by to see me. Your blog is way too cute!!
ReplyDeletehttp://bestpartofbelieveis.blogspot.com/
&
http://nikkisniknacks.blogspot.com/
~Nikki
Thanks, Ladies! @Nikki, I got the hardware from Everything Ribbons on Etsy. You can purchase things separately, and they also sell kits that include everything (except for the pliers). Thanks so much for following, and I'm headed your way now! :-)
ReplyDeleteHow cute are these!
ReplyDeleteThanks so much for sharing with So Sweet Sundays! I'm your newest follower. :)
love the variety wow they look great
ReplyDeleteI love this idea ! Ag
ReplyDeleteThanks so much for stopping by my blog and leaving a sweet comment! This is a great idea because I can NEVER find my keys-definitely going to have to try this! Following you now too!
ReplyDelete-Angela
http://www.loveseweetlove.blogspot.com/
Love how they all turned out! Thanks for the tutorial! :)
ReplyDeleteso cute and it looks like something I could do with my limited sewing abilities!:) Thanks!
ReplyDeleteThanks so much for linking up. You were featured at this week's party!
ReplyDeleteJust found these... Love your tutorial... makes much more sense to do more than one at a time... great job!
ReplyDeleteThose are fun! Thanks for the tutorial!
ReplyDeleteThanks for linking up to Making It With Allie! I can't wait to see what you have for next week!
AllieMakes.Blogspot.com
I am so glad you posted this. My girlfriend asked me to make her one of these and I bought everything I needed except the FOB hardware. I cannot find it any where. If you have time would you email me and let me know where to buy them, I would really appreciate it! I am your newest follower!
ReplyDeleteJenni
www.kissedbyafrog.blogspot.com